
Guides & Comparisons
A growing collection of guides, comparisons, and explainers — distraction-free writing devices, digital typewriters, Studio workflows, and the questions writers ask when choosing how they write.
Buying Guide
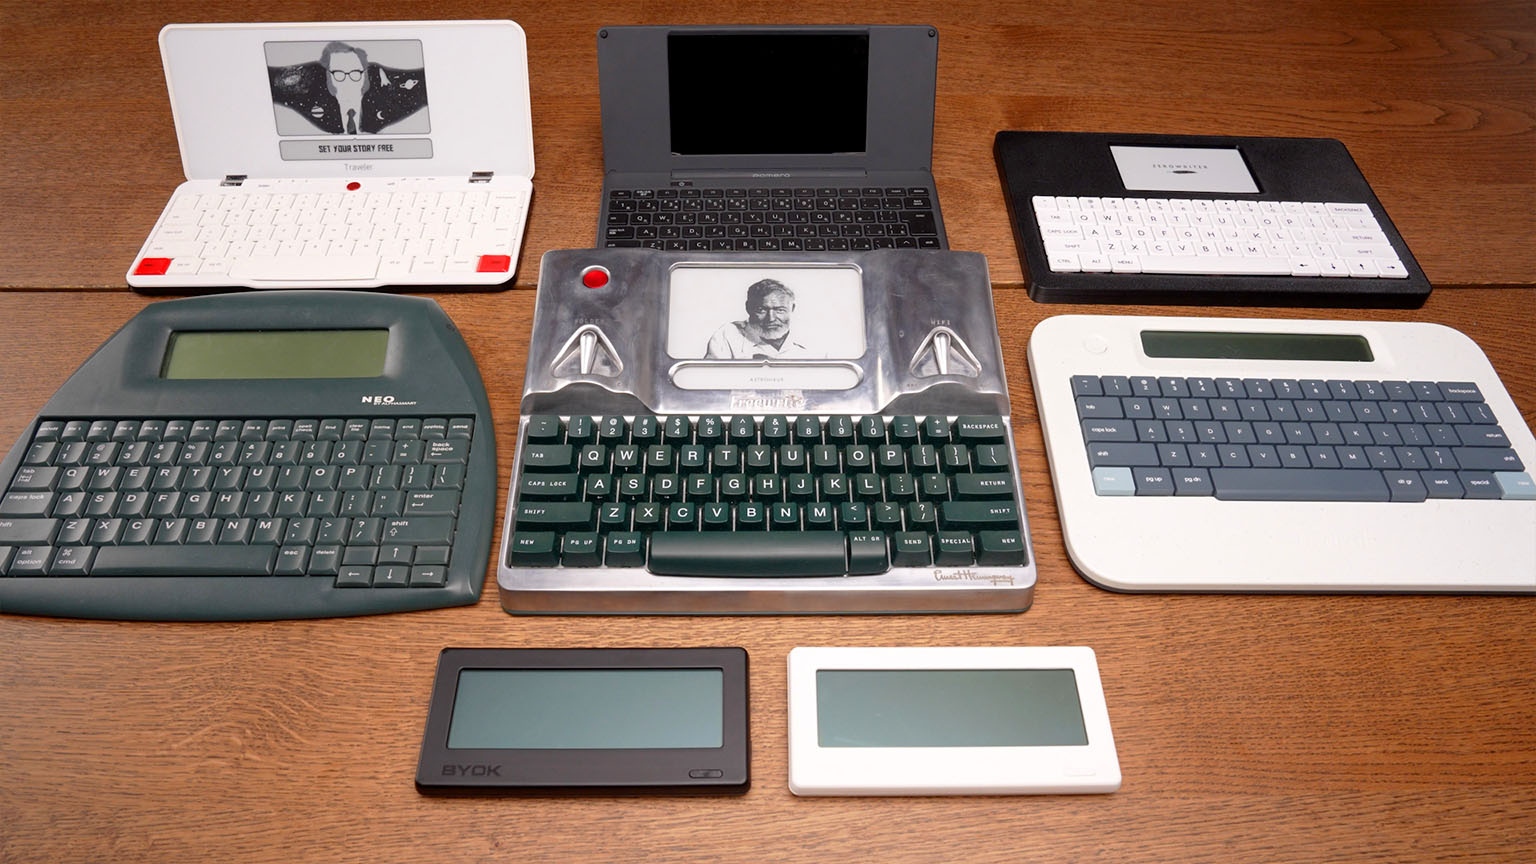
Best Distraction-Free Writing Devices, Compared
A side-by-side look at seven dedicated writing devices — Freewrite, Pomera, AlphaSmart, BYOK, and more — with specs, pricing, and honest evaluations.
Read more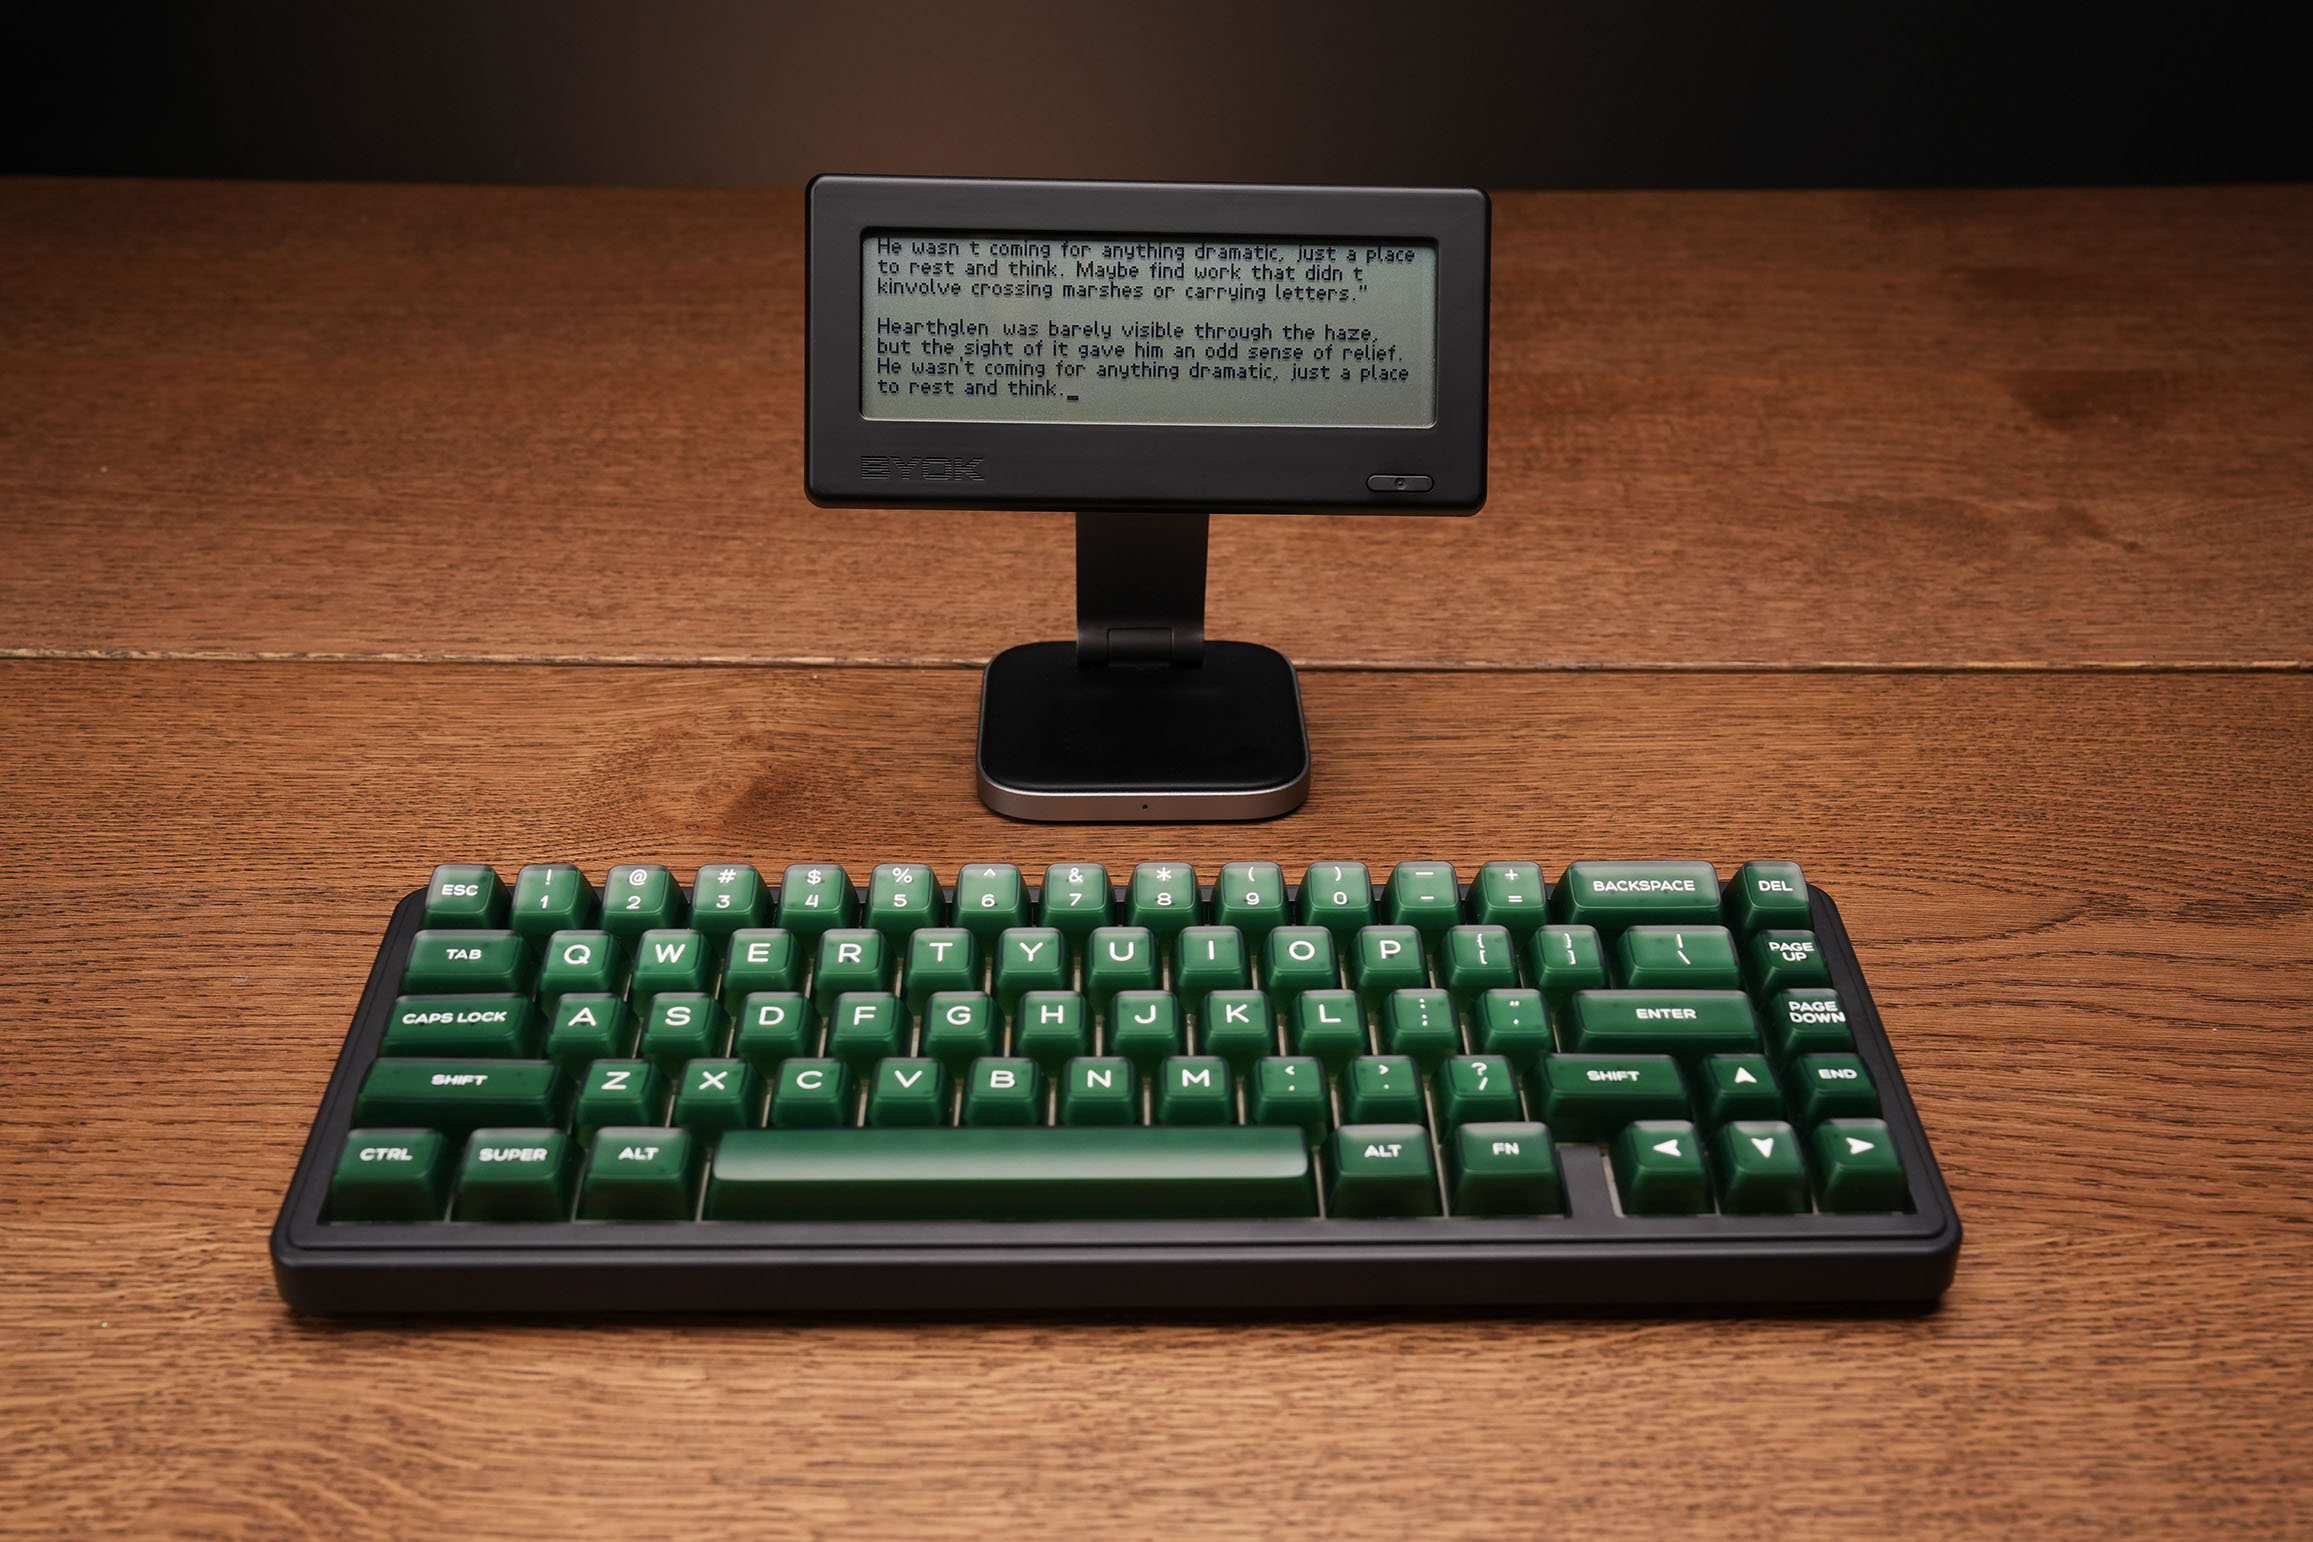
Explainer
What Is a Digital Typewriter?
A modern tool for focused drafting that keeps the single-purpose feel of a typewriter while storing your work digitally so you can edit, sync, and export.
Read more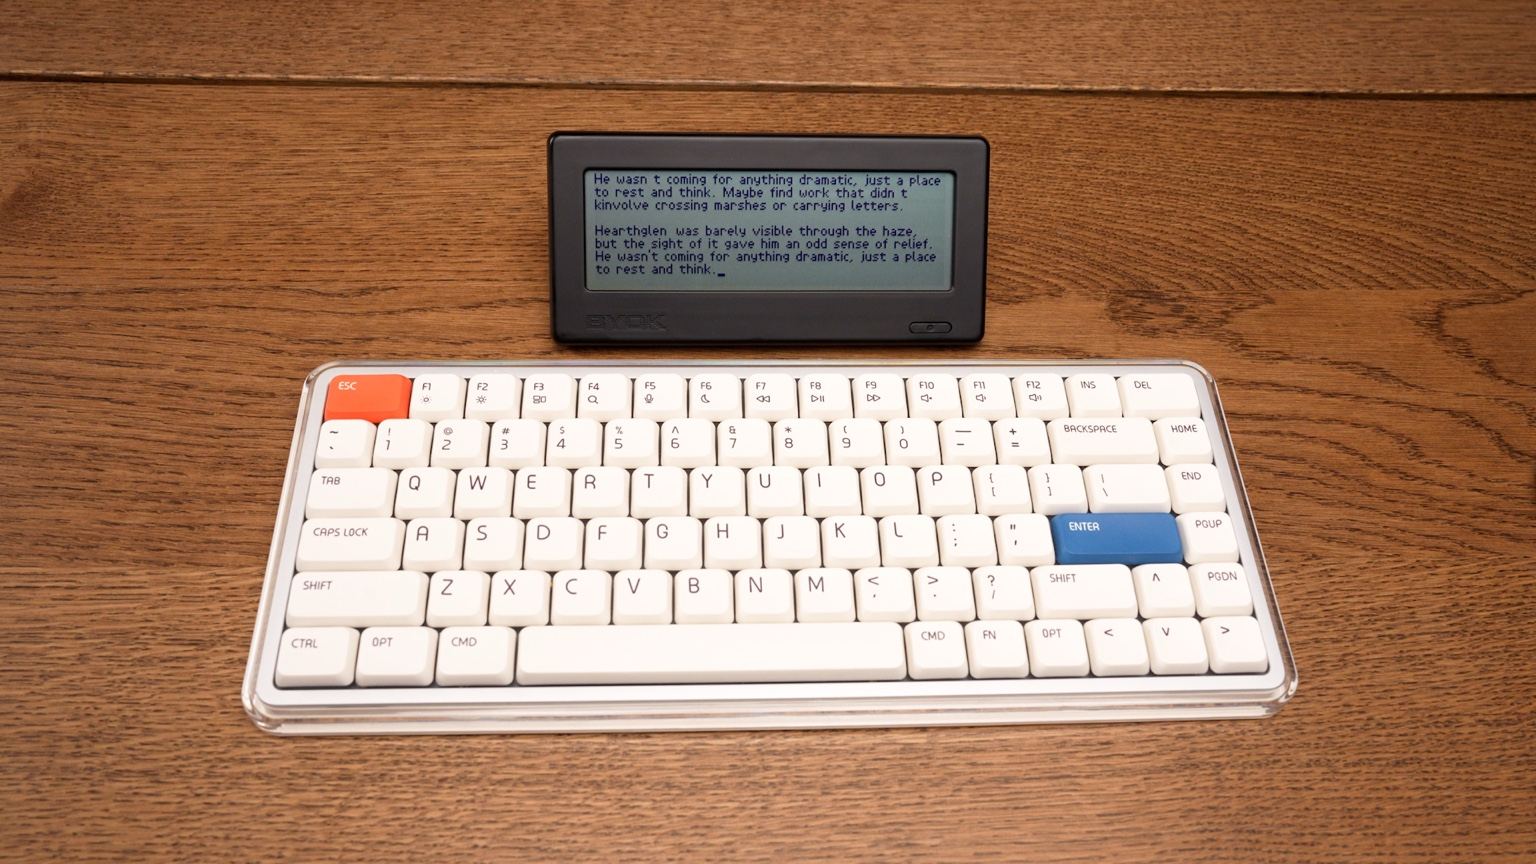
Comparison
Best Freewrite Alternatives
Looking for a Freewrite alternative? Compare BYOK, Zerowriter Ink, AlphaSmart Neo, Pomera DM250, and more, with honest pricing, tradeoffs, and a decision guide.
Read more