
Why This Workflow Exists
The BYOK exists because there is this lovely new problem starting to pop up in our world. One that makes writing a book a lot harder and more complicated than it needs to be for many writers.
Writing a book has always been much more of an internal thing than an external one. Of course, you have to actually write the words down, revise them, and eventually shape them into something readable.
But the real work - the thinking, plotting, imagining - comes from inside of you.
The problem is that this internal space is becoming harder to protect.
There's so much noise now. So many distractions. So many easy ways to avoid the uncomfortable part of writing. You can sit down to work on a book, and within seconds you can check email, open another tab, watch YouTube, scroll on your phone, or convince yourself that you need to research one more tiny detail before writing the next sentence.
Writing a book already takes enough effort without your tools constantly pulling you away from it.
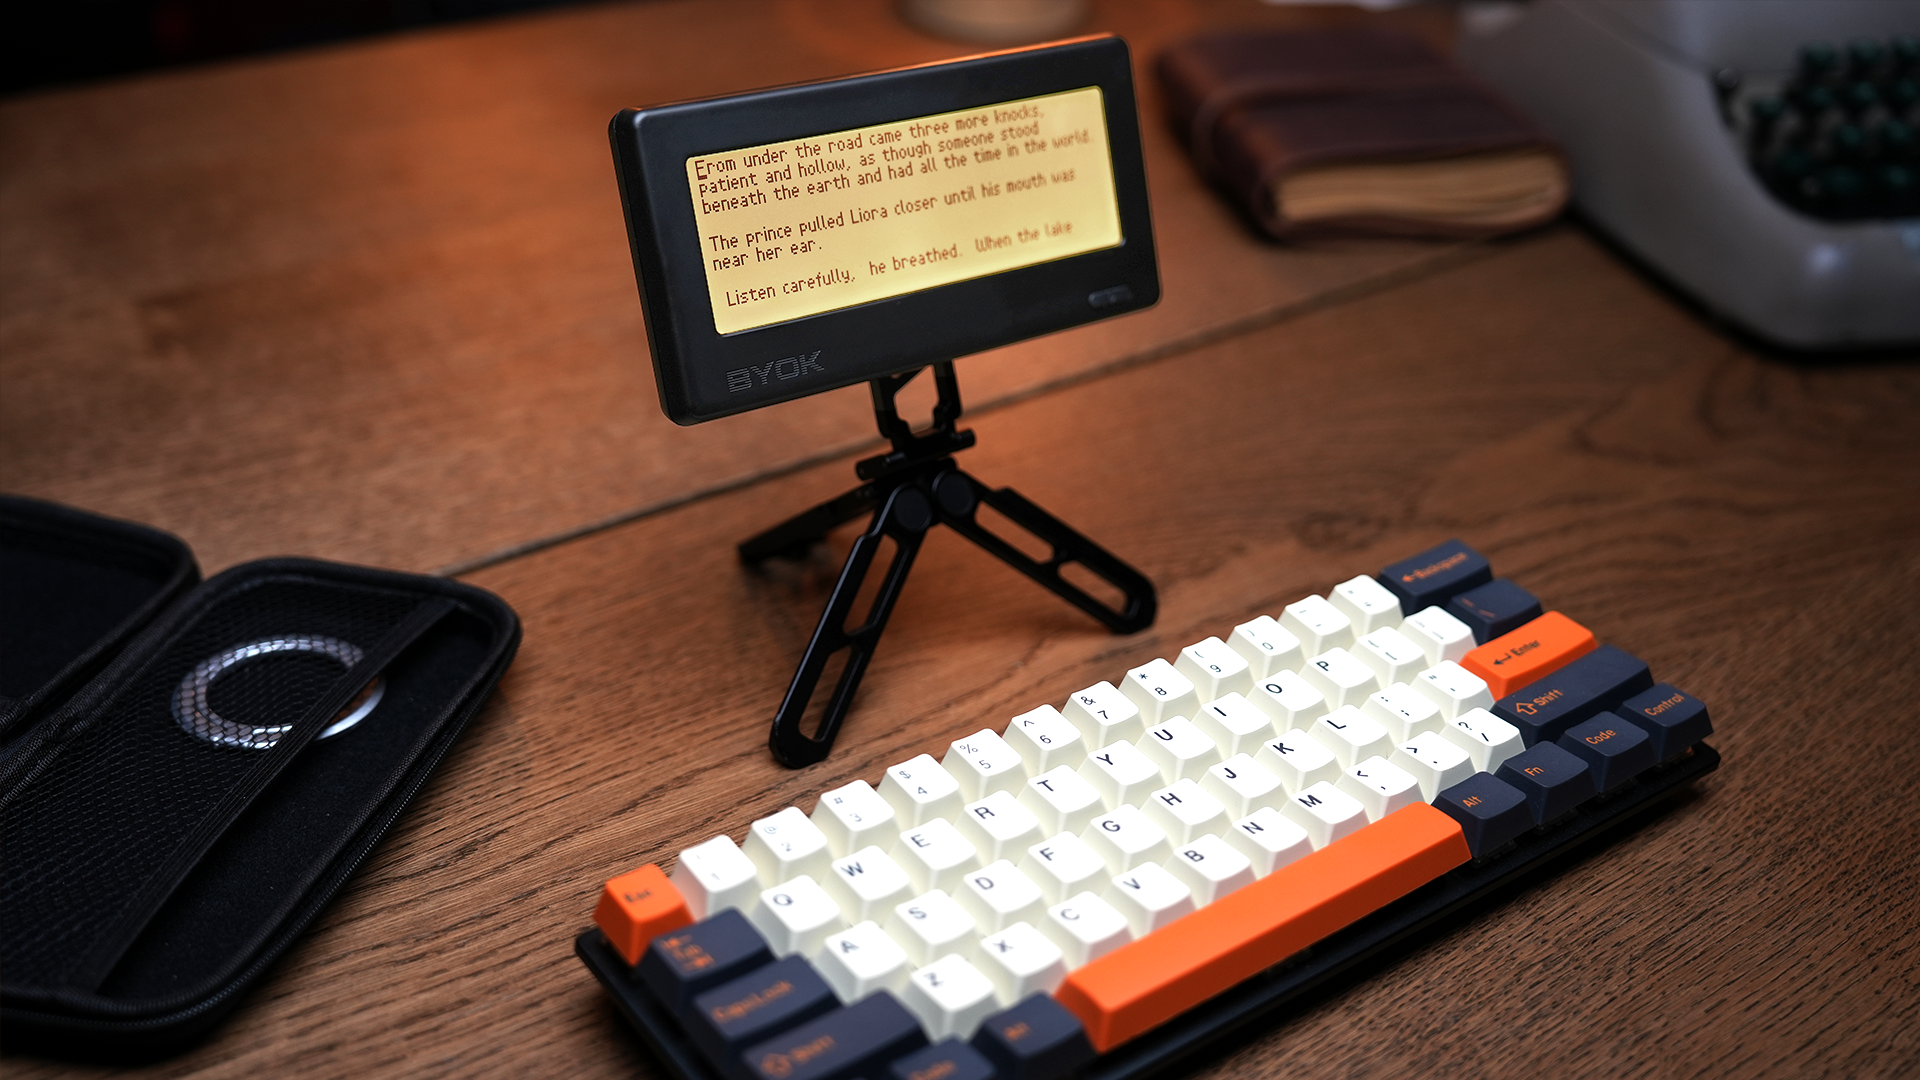
The BYOK is meant to be the opposite of that. It is a blank slate. A few steps beyond a sheet of paper. Something that lets you sit down and write with as little distraction as possible, while still giving you a modern workflow through Studio, a full writing environment and the companion software to the BYOK.
The Two Tools
The way it breaks down is pretty simple:
The BYOK
Where you get the raw draft out.
Studio
Where you organize, revise, plan, and shape that draft into something more complete.
This will make more sense as I show you the actual workflow.
Watch the Workflow in Action
Prefer to see it rather than read it? This video walks through the same workflow from first draft to final cleanup.
Before We Start
When it comes to workflows, there are endless ways that writers go about their process. The one I'll share here is my own process and not meant to be a strict guide. Rather, it's meant to give you an idea of what's possible when using the BYOK and Studio in tandem.
I am what you call a “pantser.” This means I usually begin my first draft without an outline and only a general idea of how I want the story to unfold — which always goes well and never causes me to write myself into a hole and curl up into a ball.
If this guide proves helpful, we'll be happy to put together another one demonstrating a more planning-oriented workflow.
With that said, let's get into the workflow.
The First Draft
Generally, I start with an idea for a story that can be summed up in one or two sentences. Something like, “A hobbit inherits an all-powerful ring and has to take it to Mordor to destroy it.”
If I'm writing fantasy or sci-fi, I'll usually have some sense of the world too — what it looks like, how it works, and so on.
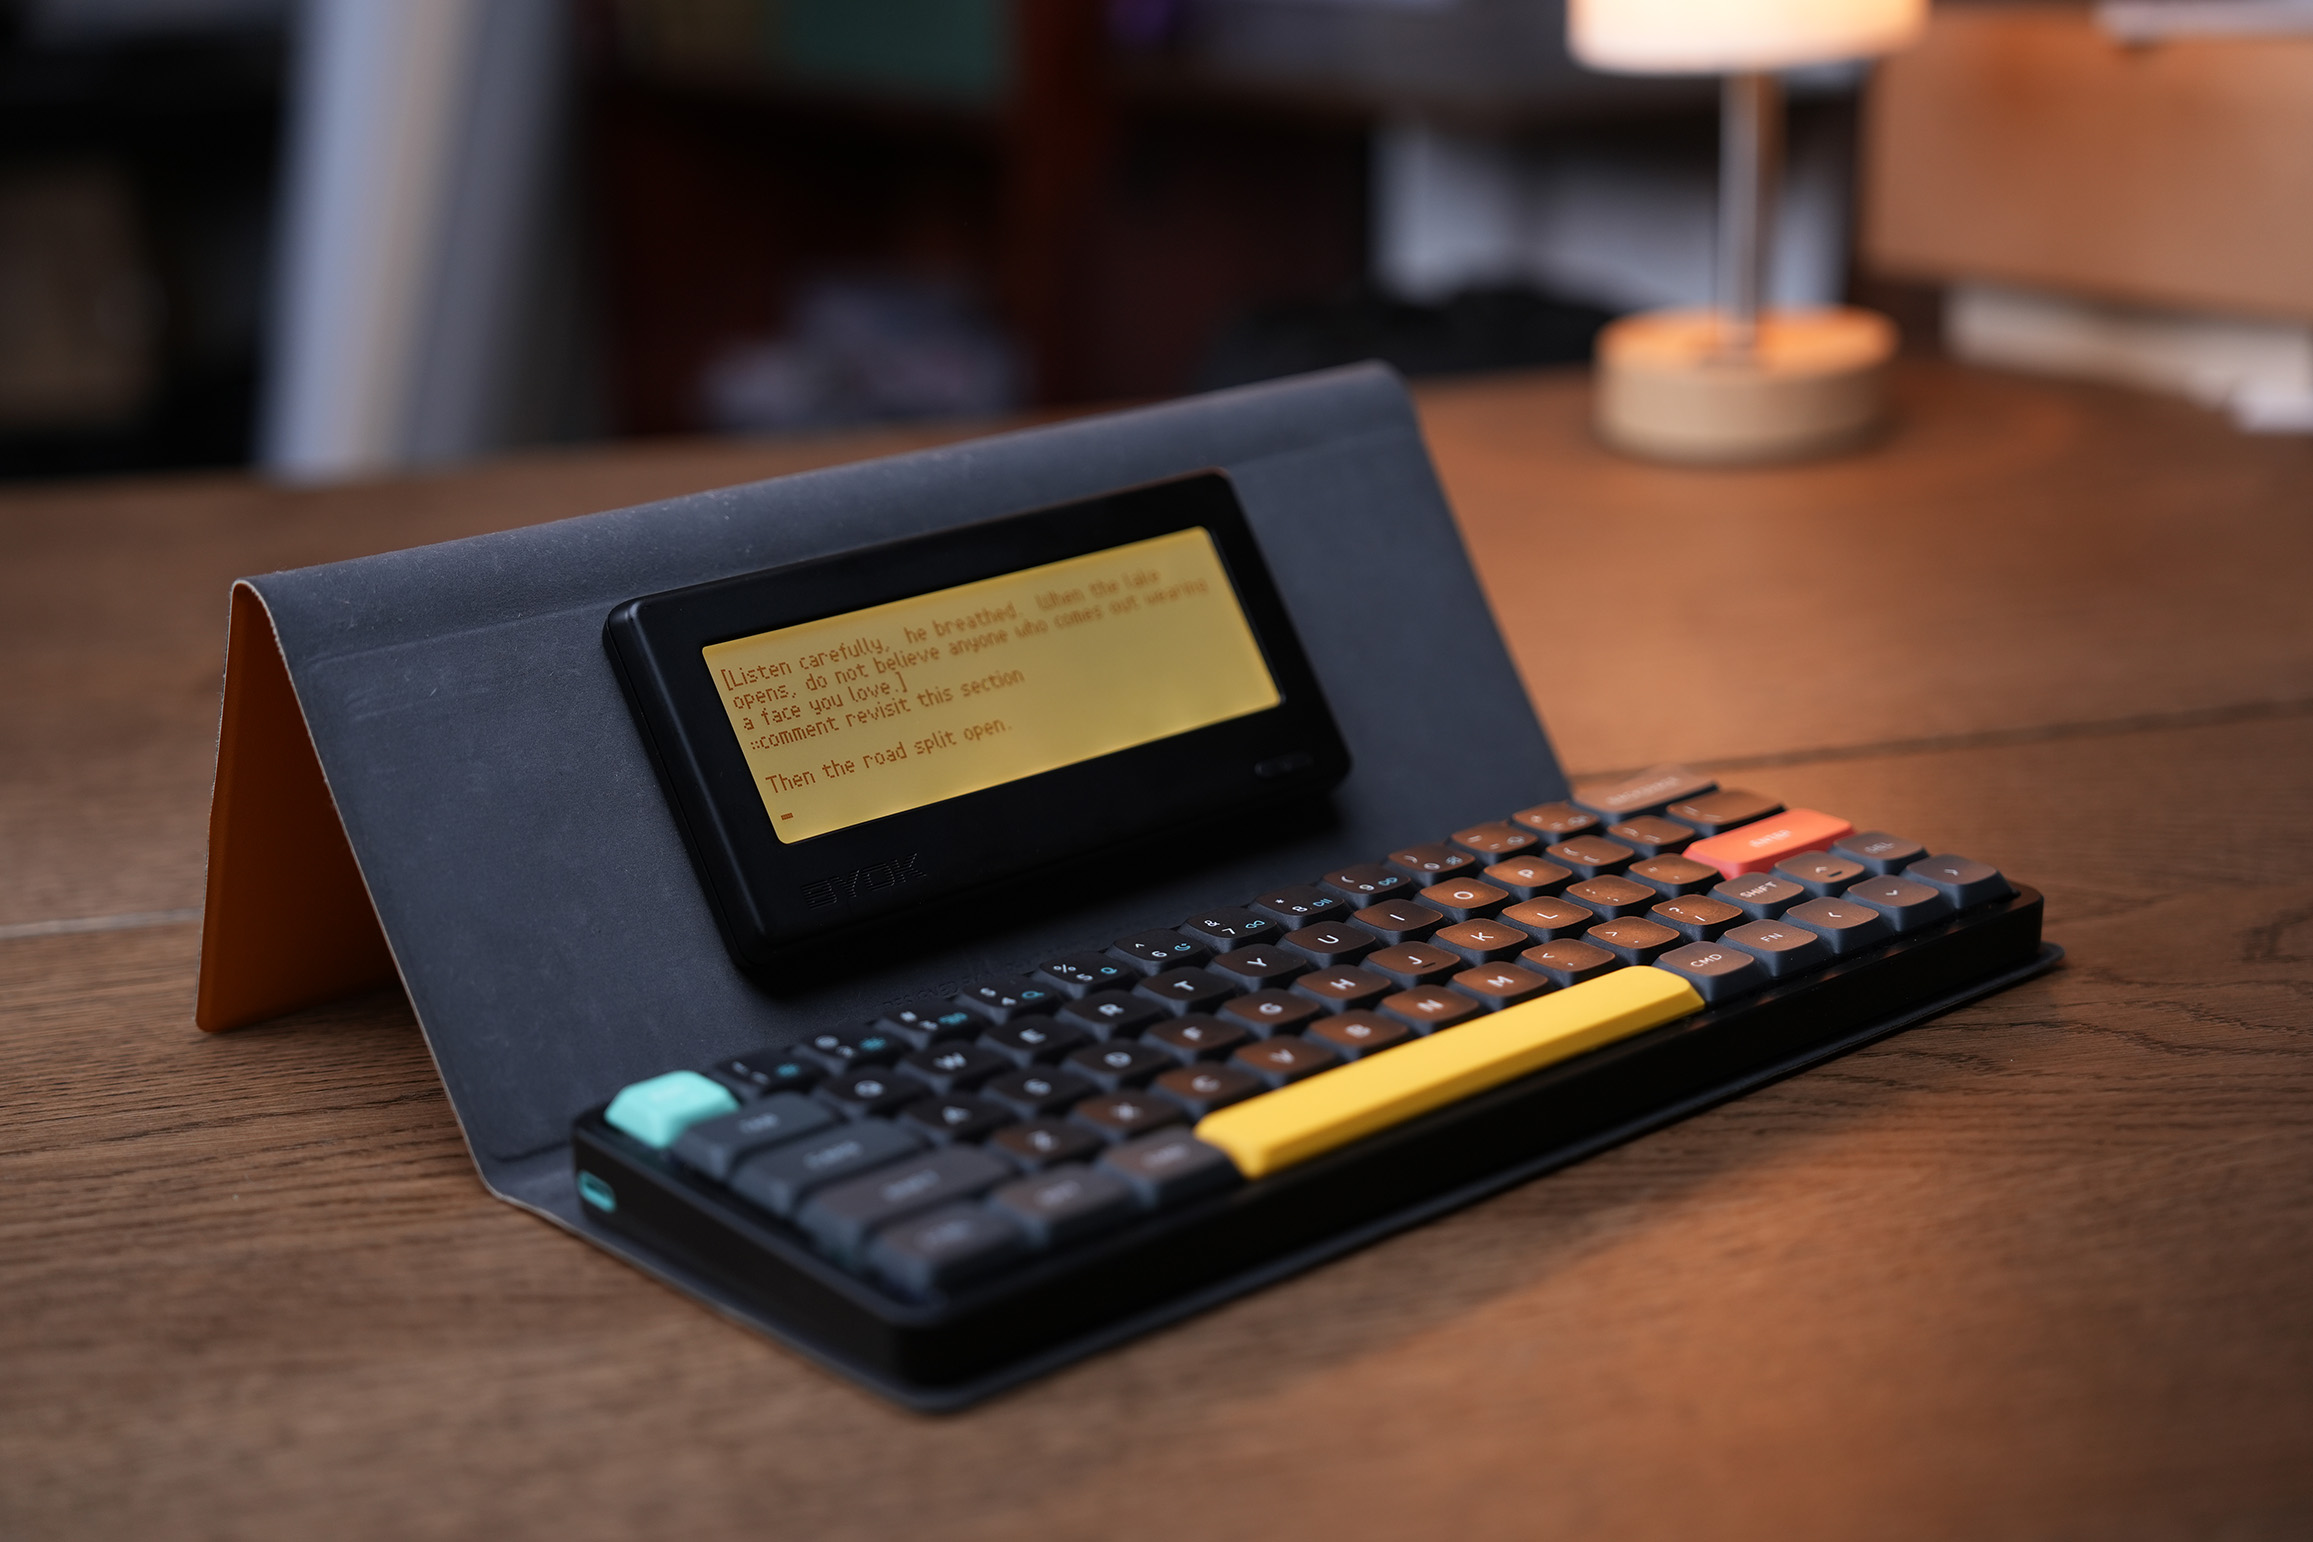
Once I have that, I find myself a comfortable place to set up my BYOK and start writing. The portability of the device makes it possible to write anywhere. Coffeeshops, outdoors, traveling, a quiet room, a library, and anywhere else you can think of.
One scene per file
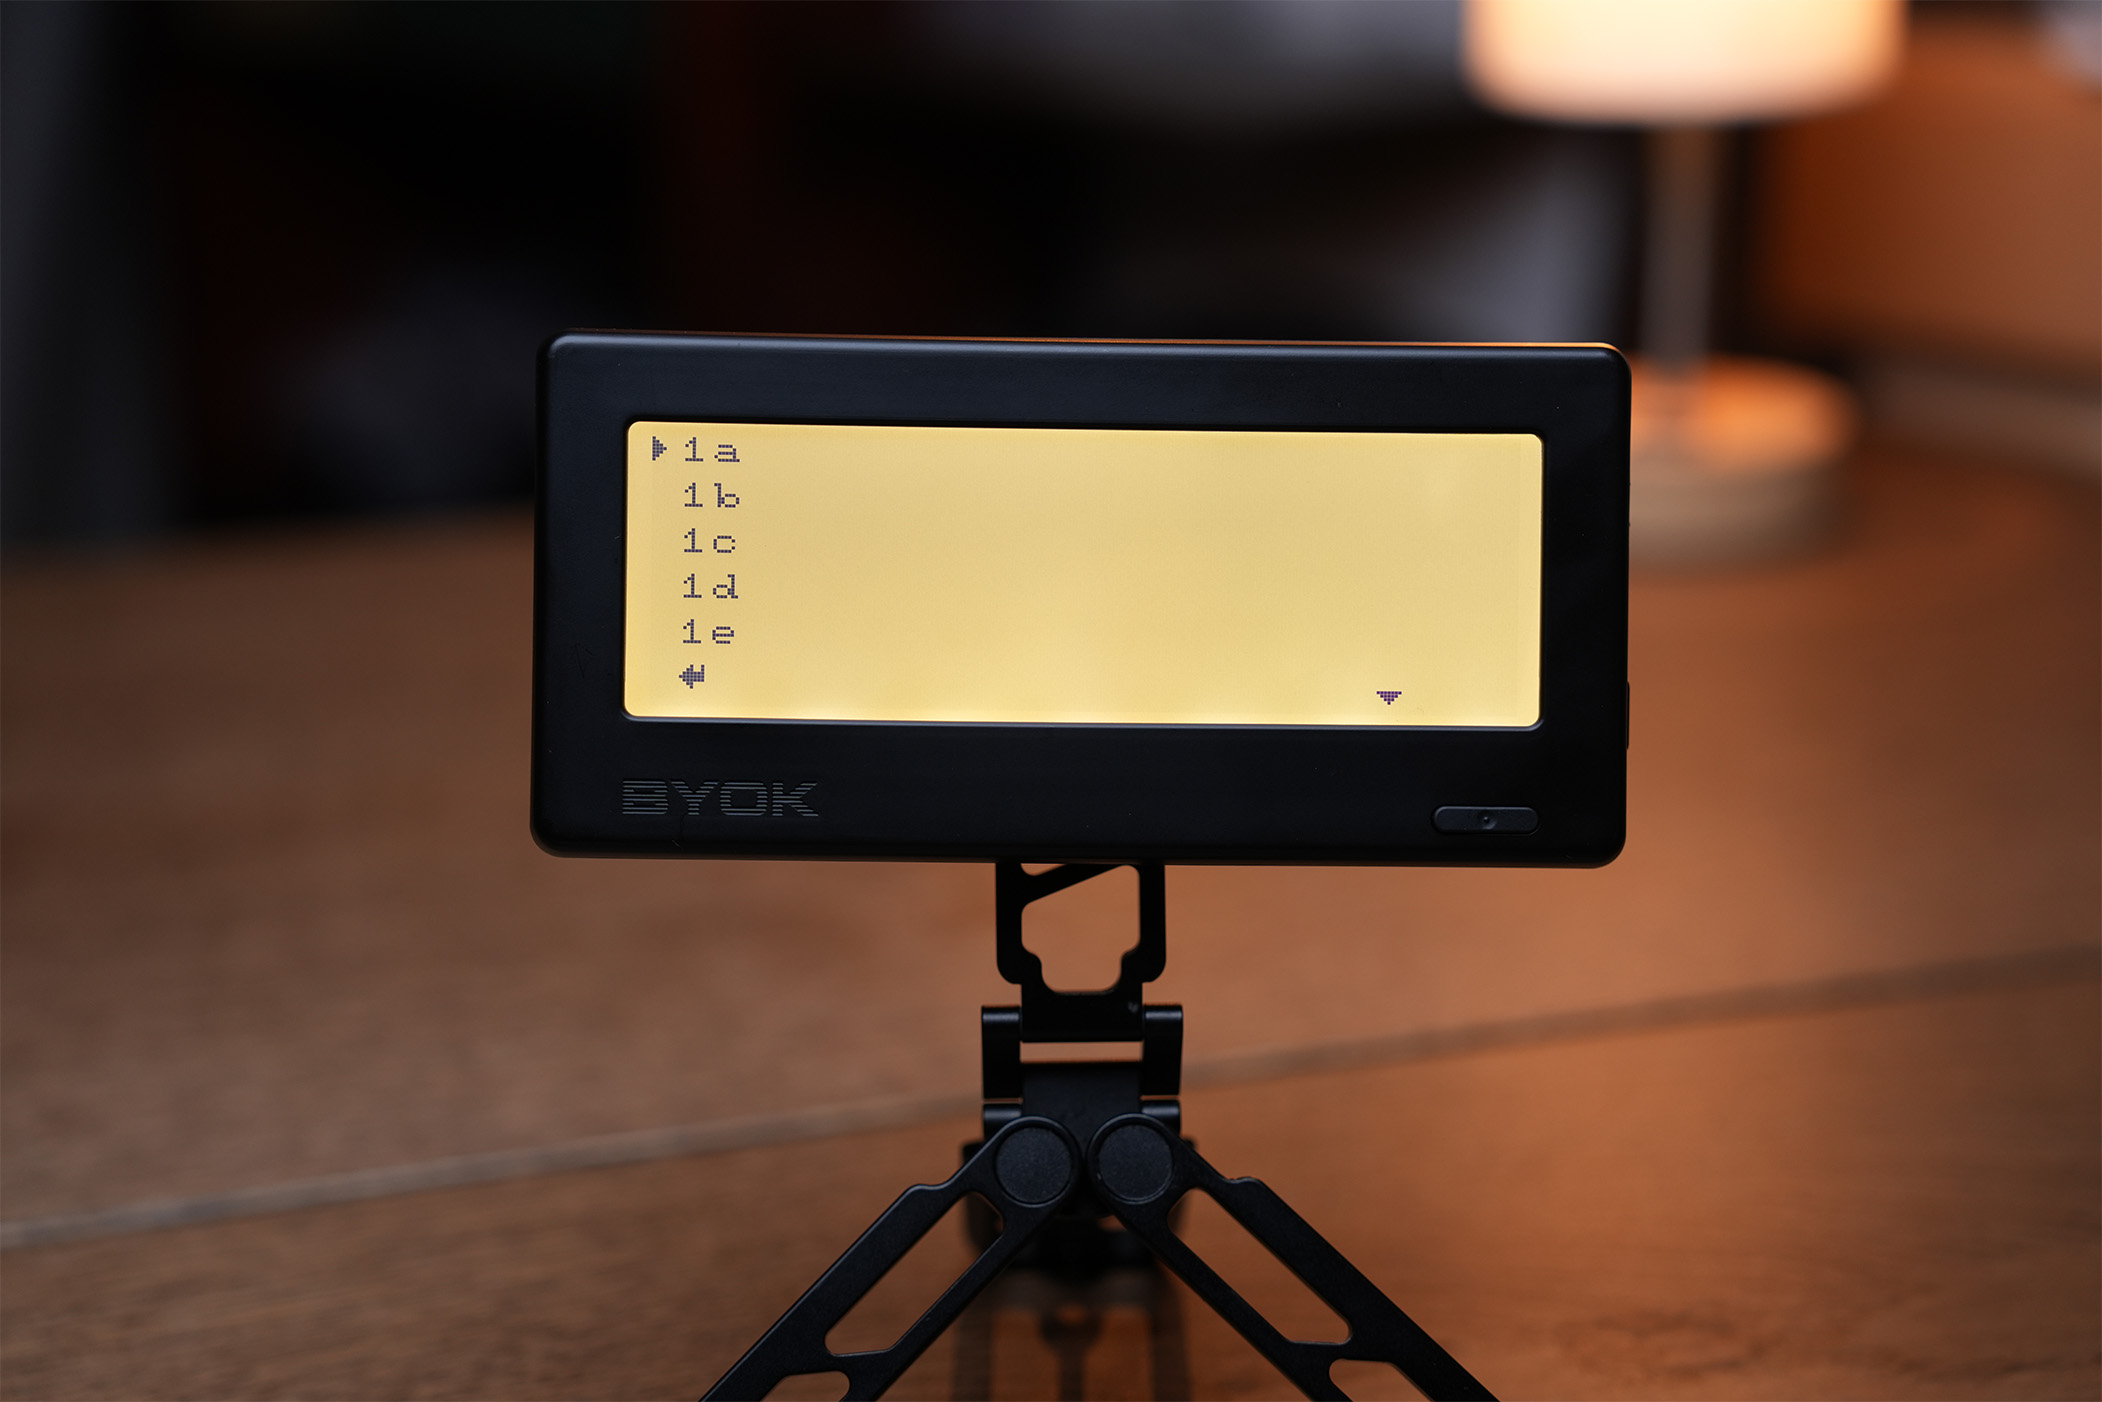
Typically, I will create a new project on the BYOK and then start writing the first scene. For each scene, I create a separate text file inside of the project. I'll usually name them something like “Scene 1a,” where the number represents a section of the book and the letter represents the scene inside that section. This little bit of structure helps a lot later on.
I'm usually making the story up as I go, just following the characters and the journey and fully expecting the writing to be super rough, even incoherent at times. The sooner you accept that the first draft won't be good, the better.
I think of it like I'm throwing a bunch of clay onto the table. I'm not sculpting yet. Just getting the raw material in front of me.
Quick notes without leaving the device
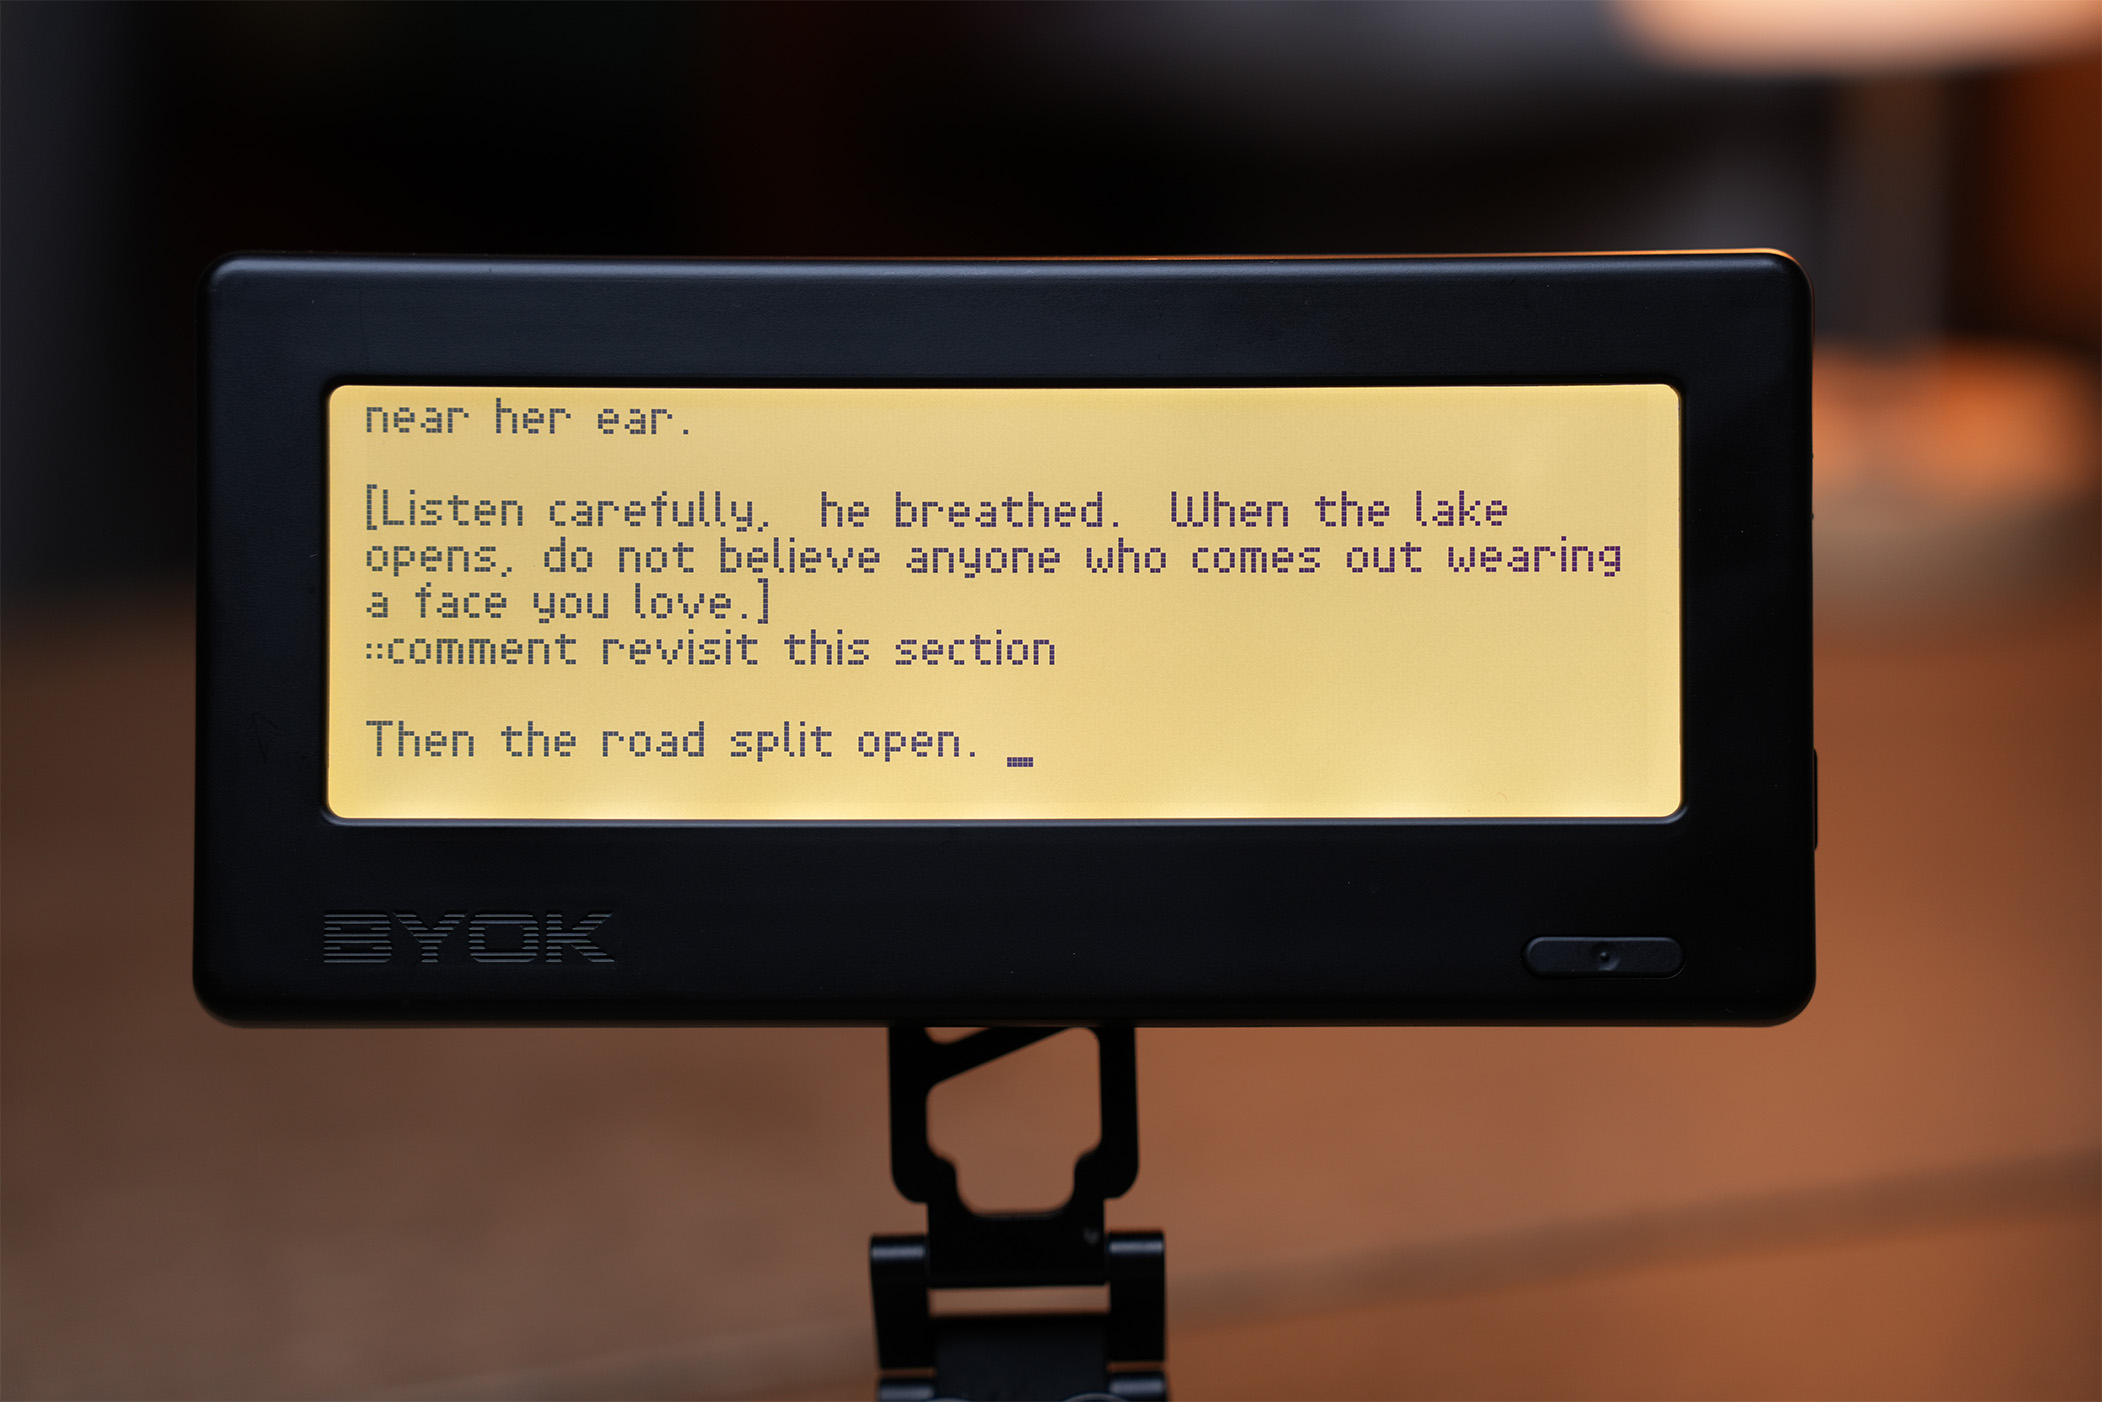
Sometimes, during drafting, I will need to jot down a quick note for later use. To avoid using other devices, I will usually do this directly on the BYOK using the capture system. For example, if I want to flag something to be revisited later, I will write out my note using the comment command at the end of that paragraph. Then, once synced to Studio, that note will appear alongside my writing in the correct location.
I try not to do this too much in the first draft. Staying focused on the bigger picture is the priority, but it definitely comes in handy from time to time.
Backups and Descriptions
As I'm moving along in my first draft, I like to keep everything backed up in Studio. Being the paranoid type, I will manually sync quite often, but the BYOK will also sync automatically when you power it off.
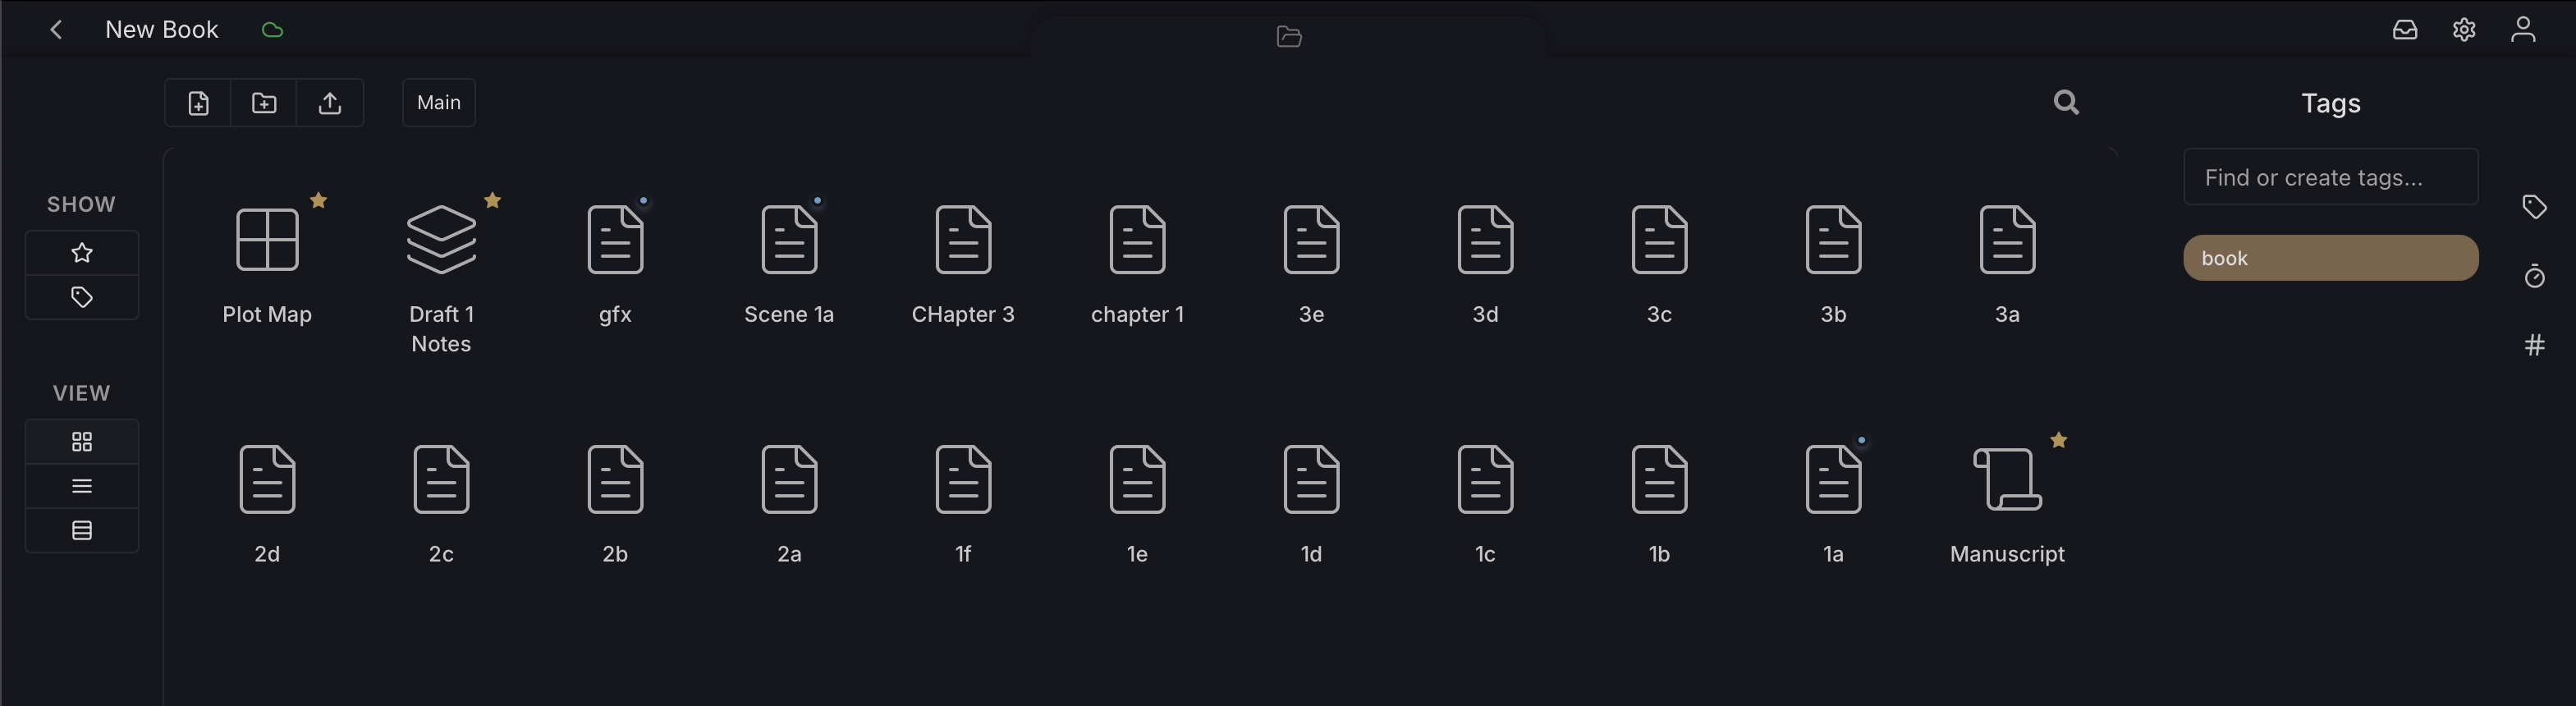
Once synced, you will see your scenes inside of your corresponding Studio project folder. From here, you can create new folders and organize them to your heart's content. It won't change how they appear on the BYOK.
Filling out descriptions
During the first draft, I generally try to stick to the BYOK and avoid my computer or phone, with the exception of one thing.
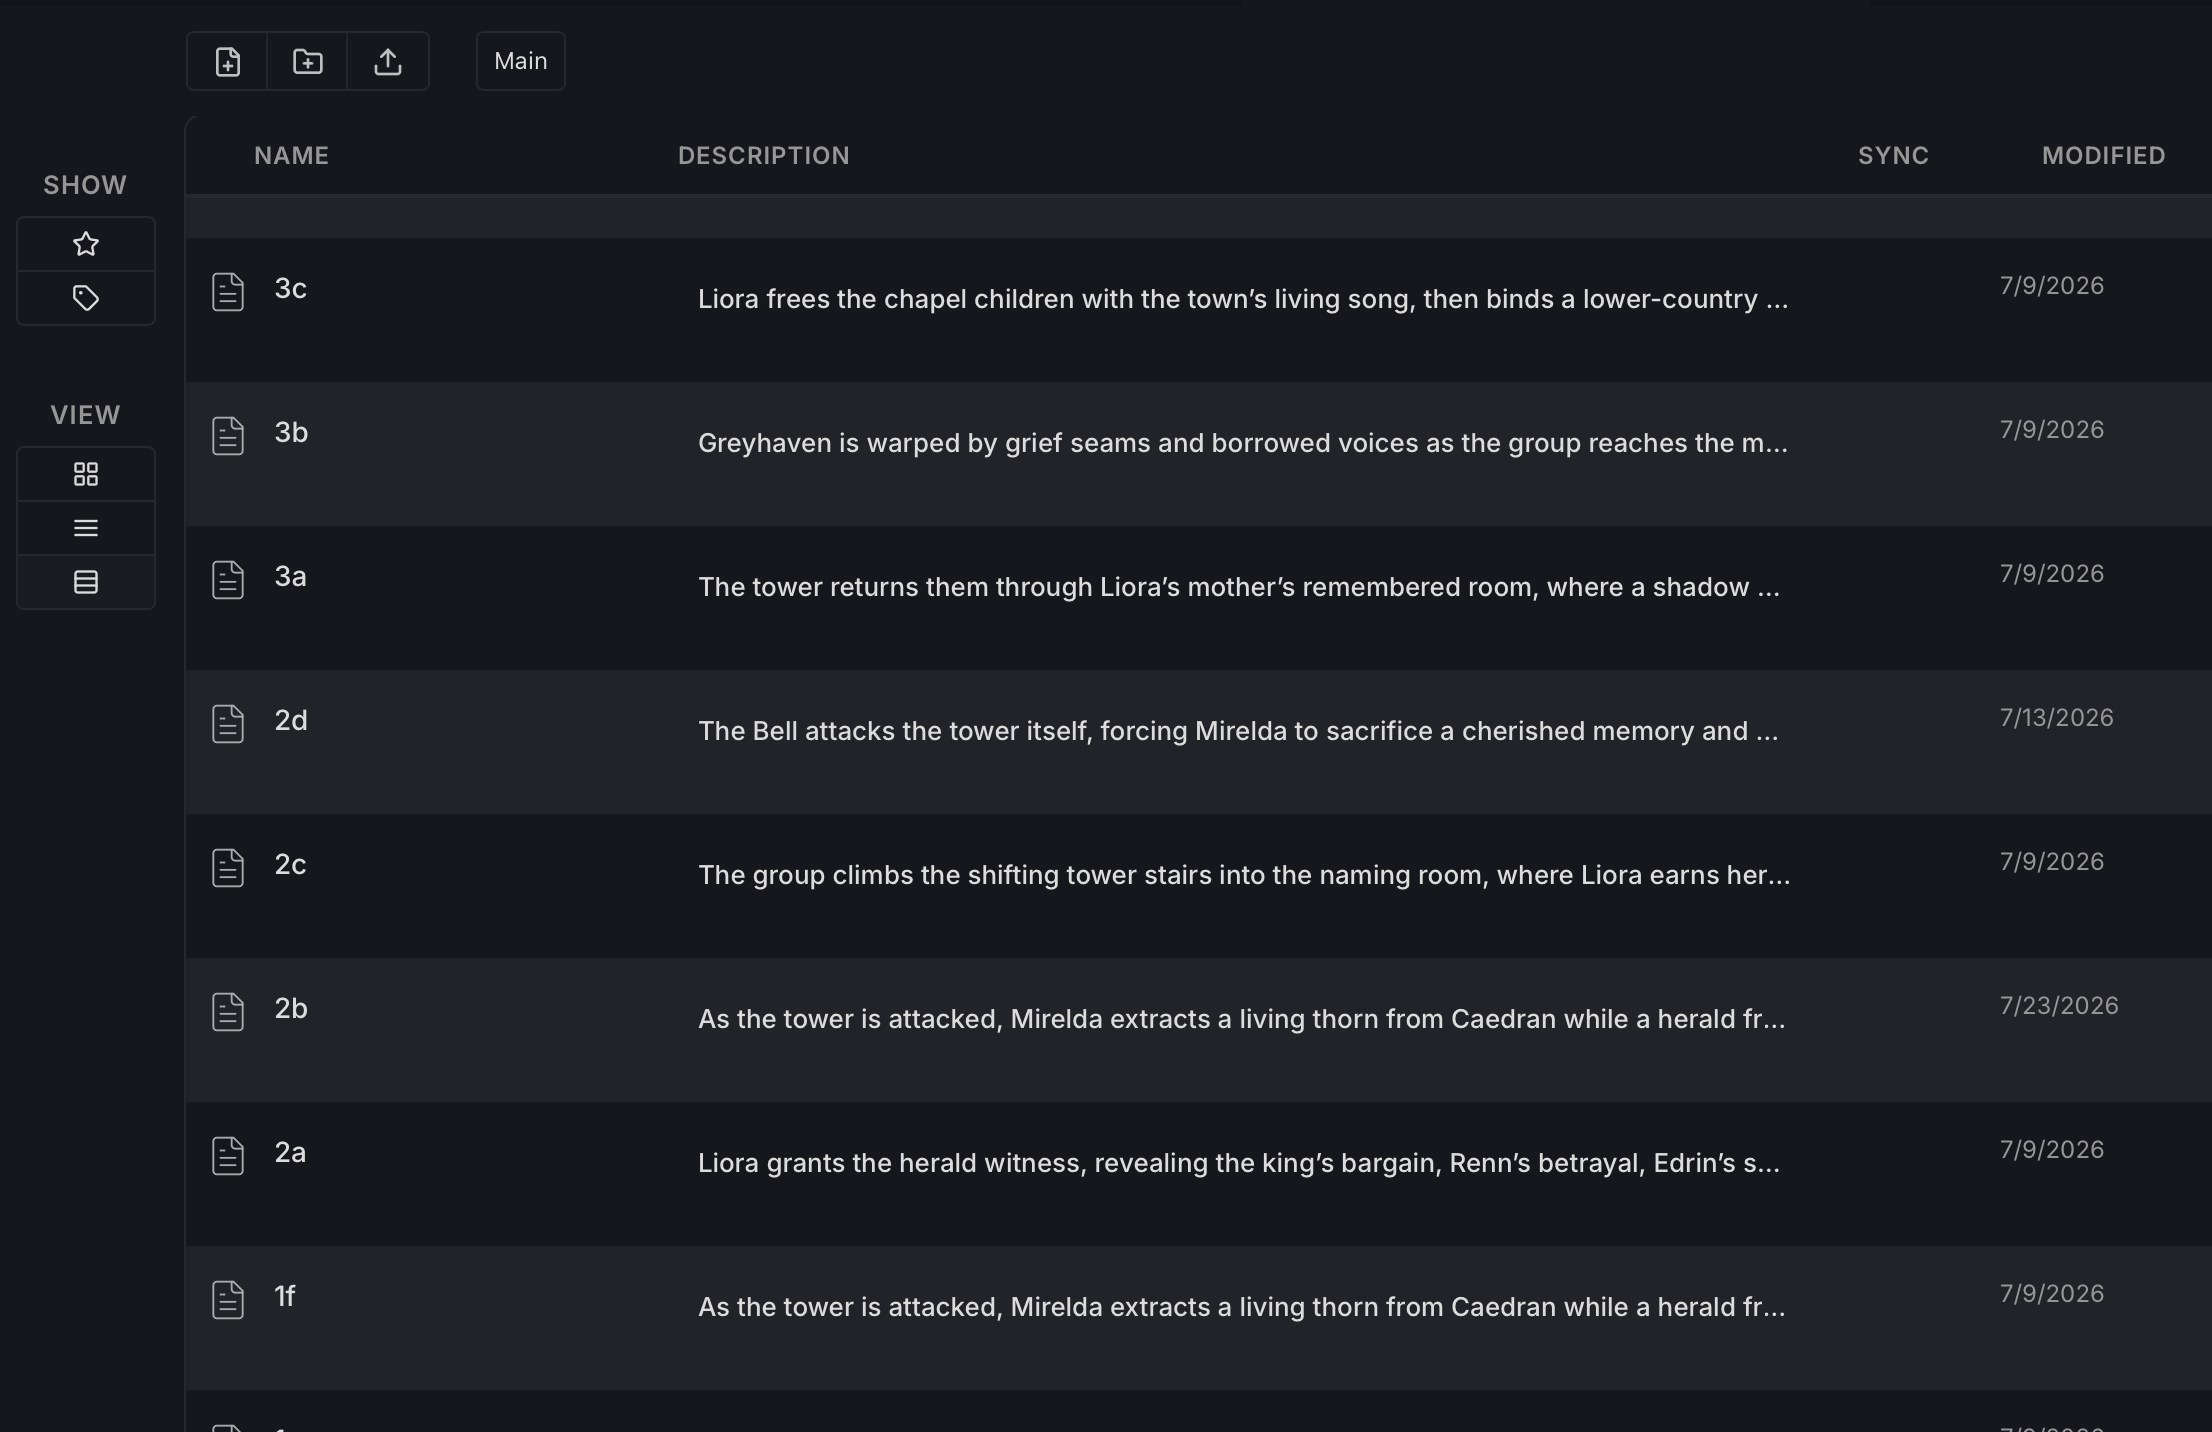
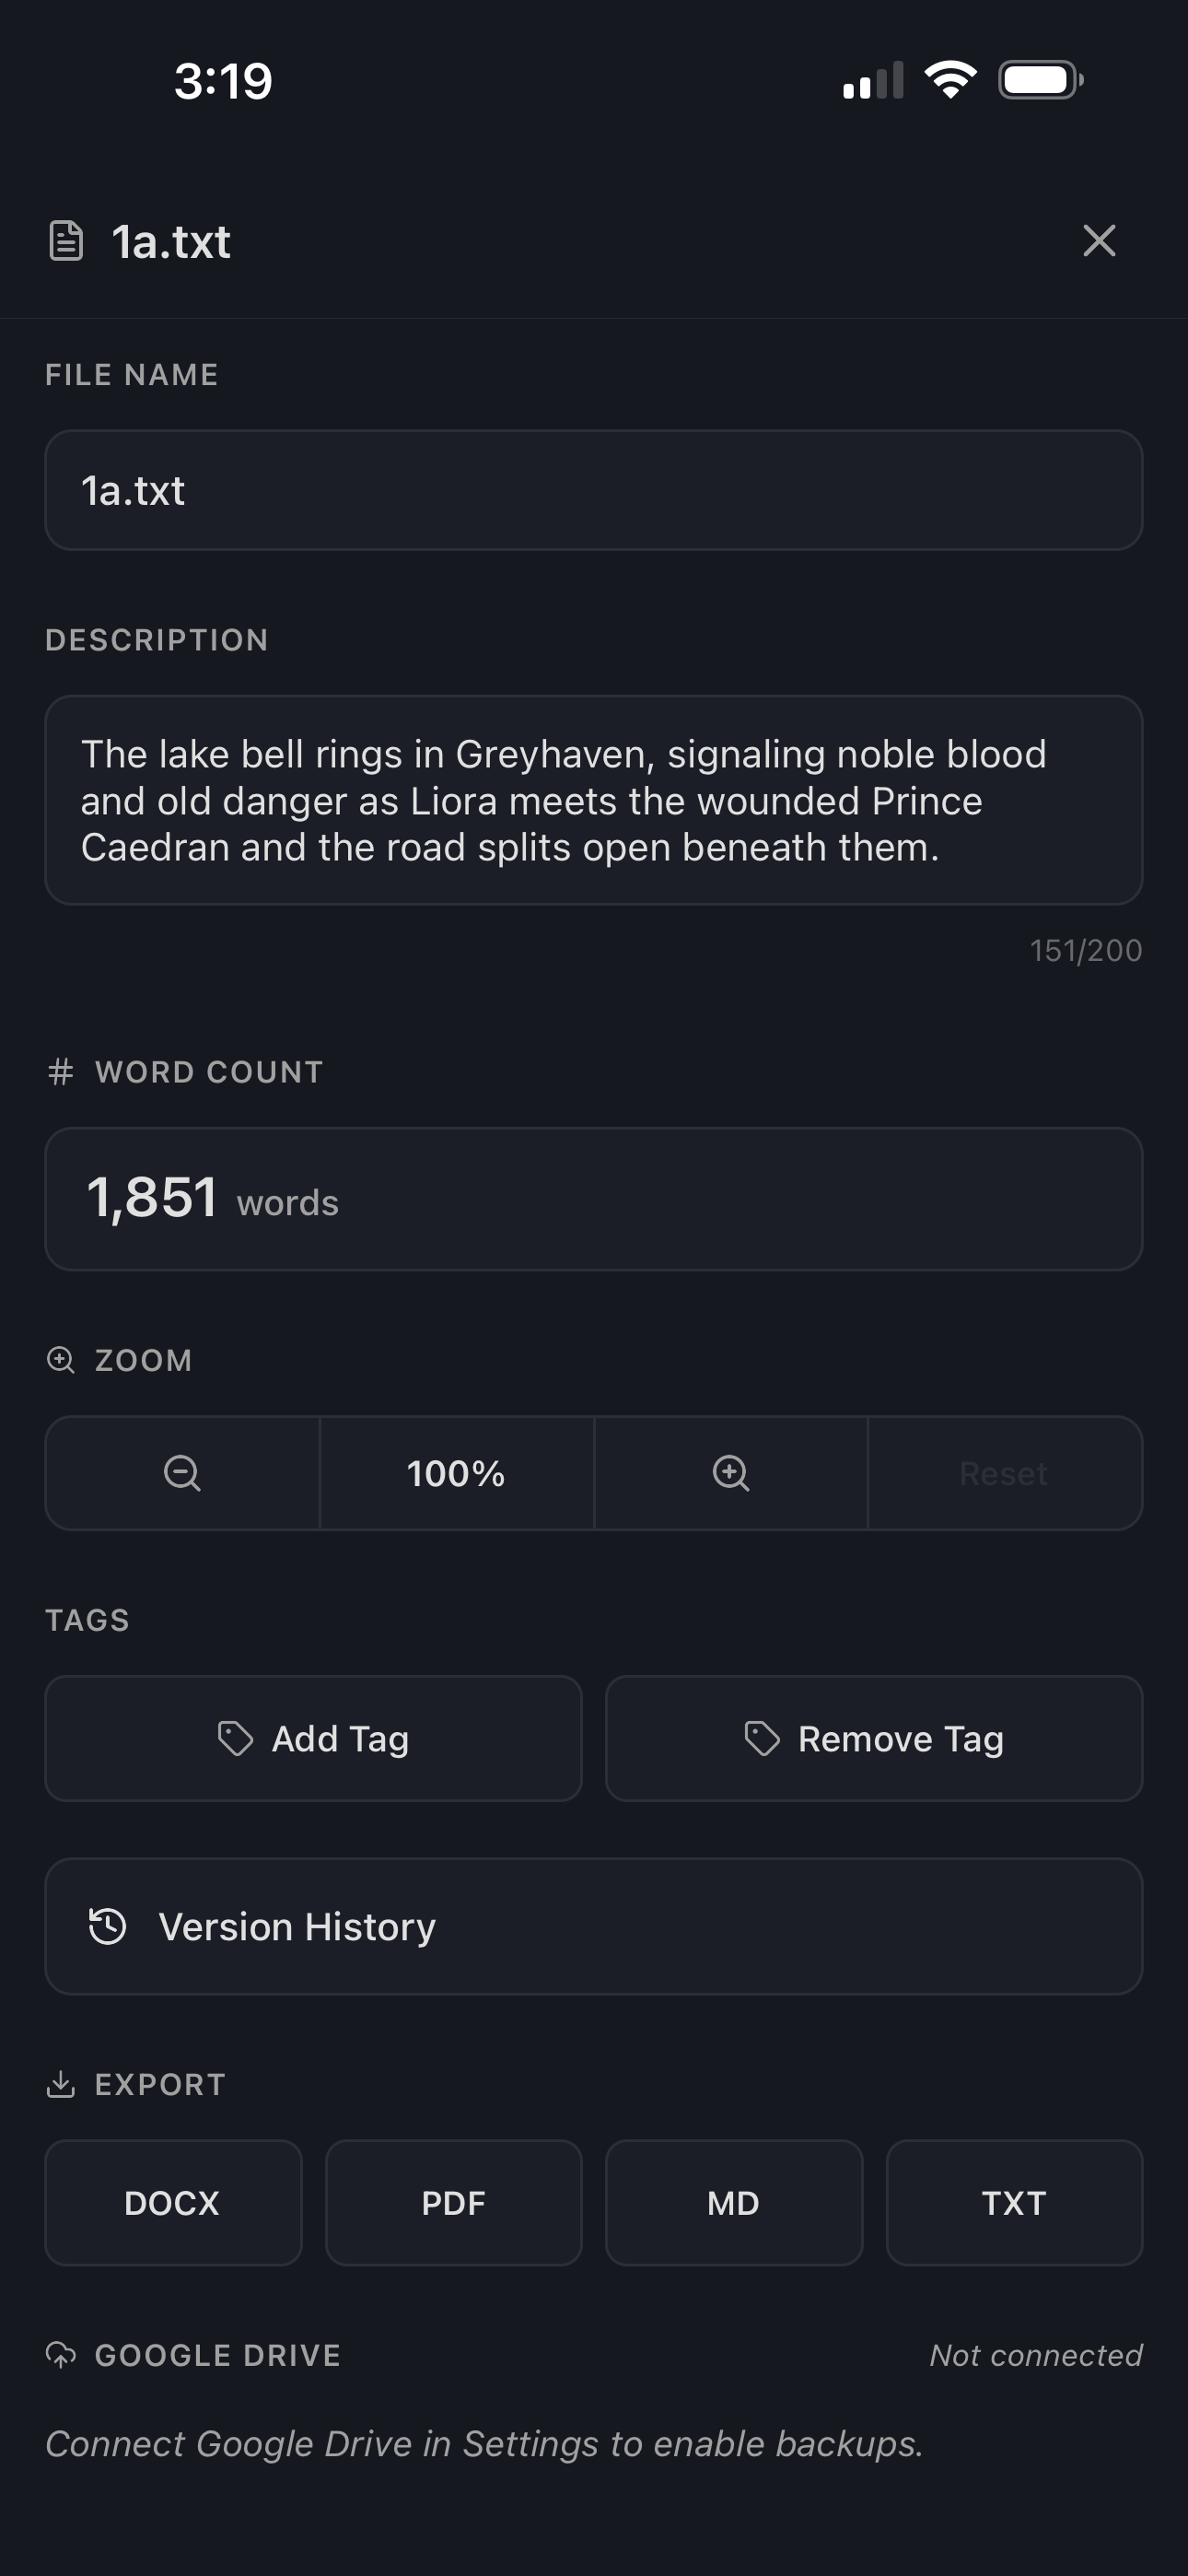
In Studio, I like to fill out the description field for each scene after it is synced. This makes it much easier to review the files later on when revising.
I'll typically write 1-2 sentences for each scene. Just enough to understand it at a glance. Surprisingly, it is very easy to completely forget a scene you wrote a few months ago.
If you'd rather not deal with a computer at this stage, you can also fill in these descriptions on the Studio mobile app.
Letting the Draft Rest
Once I've finished all of the scenes in the first draft, I like to take some time away from the story. This could be a couple days, or it could be a few months. Just needs to be enough so that it feels fresh when I come back to read it.
Reading the First Draft
After I've let it sit for a while, I will jump into Studio and compile all of my scenes using the manuscript tool.
Because the scenes are named 1a, 1b, 1c, and so on, it's super easy to arrange them in order without having to figure it out.
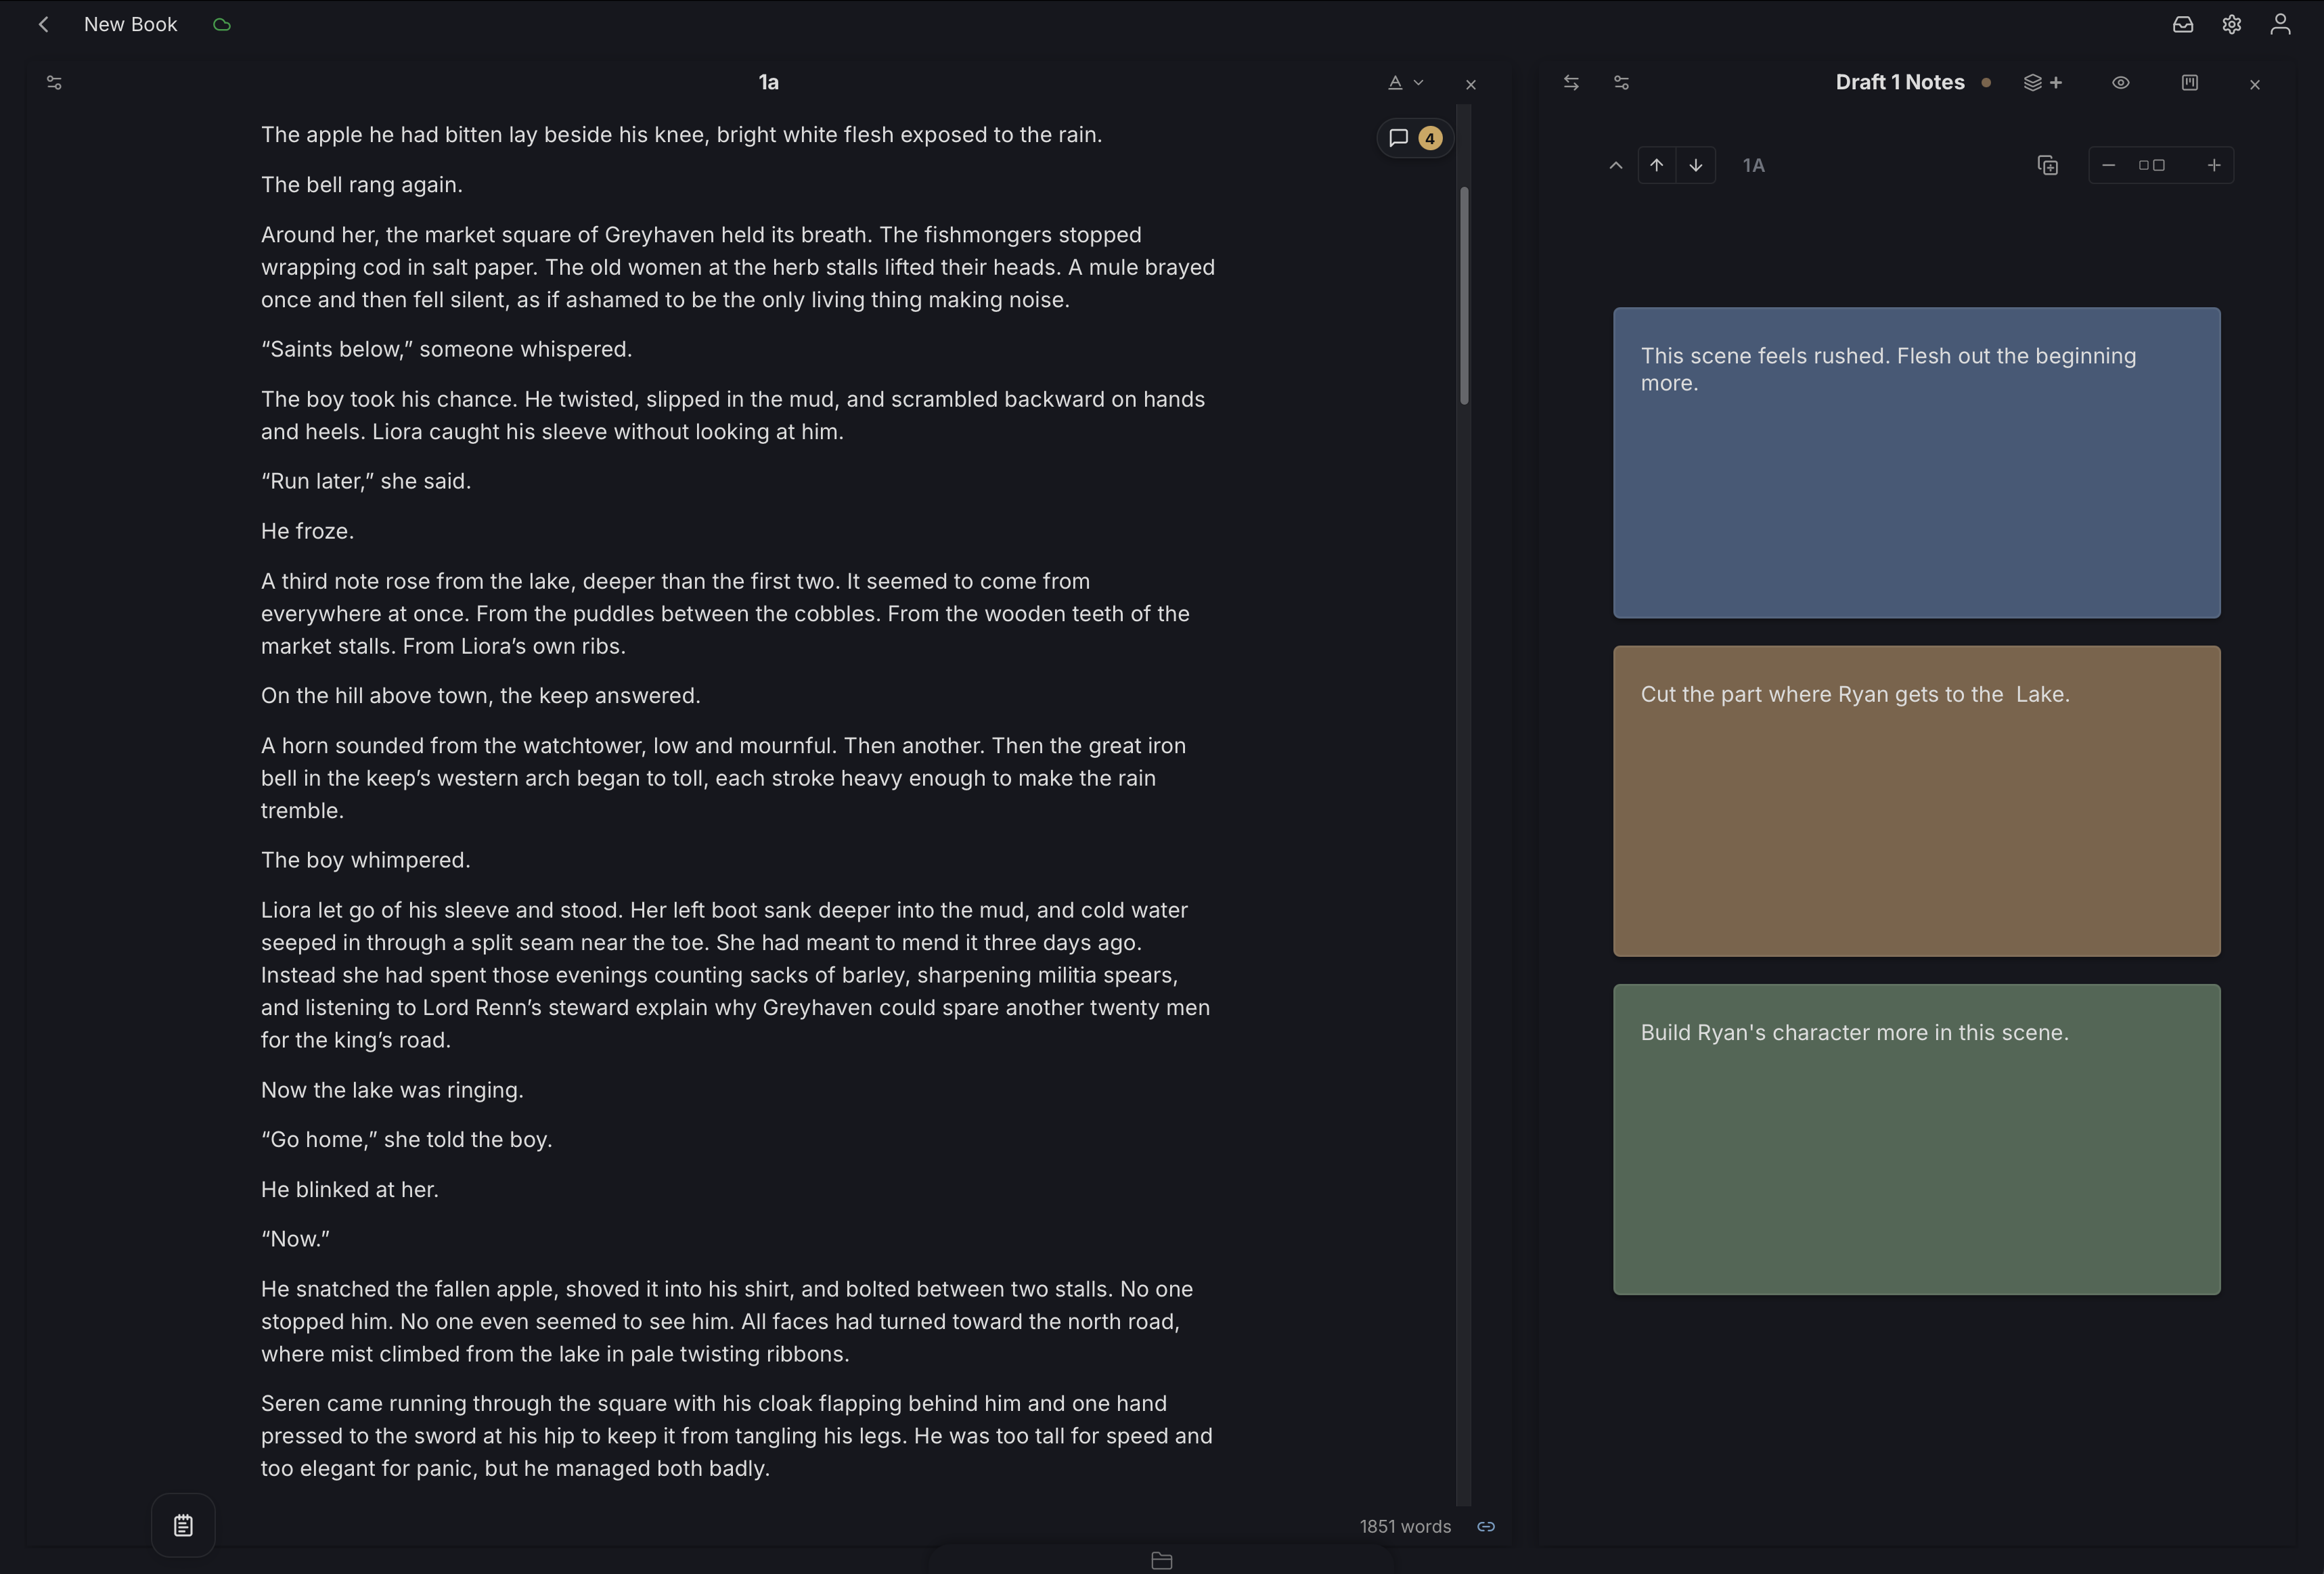
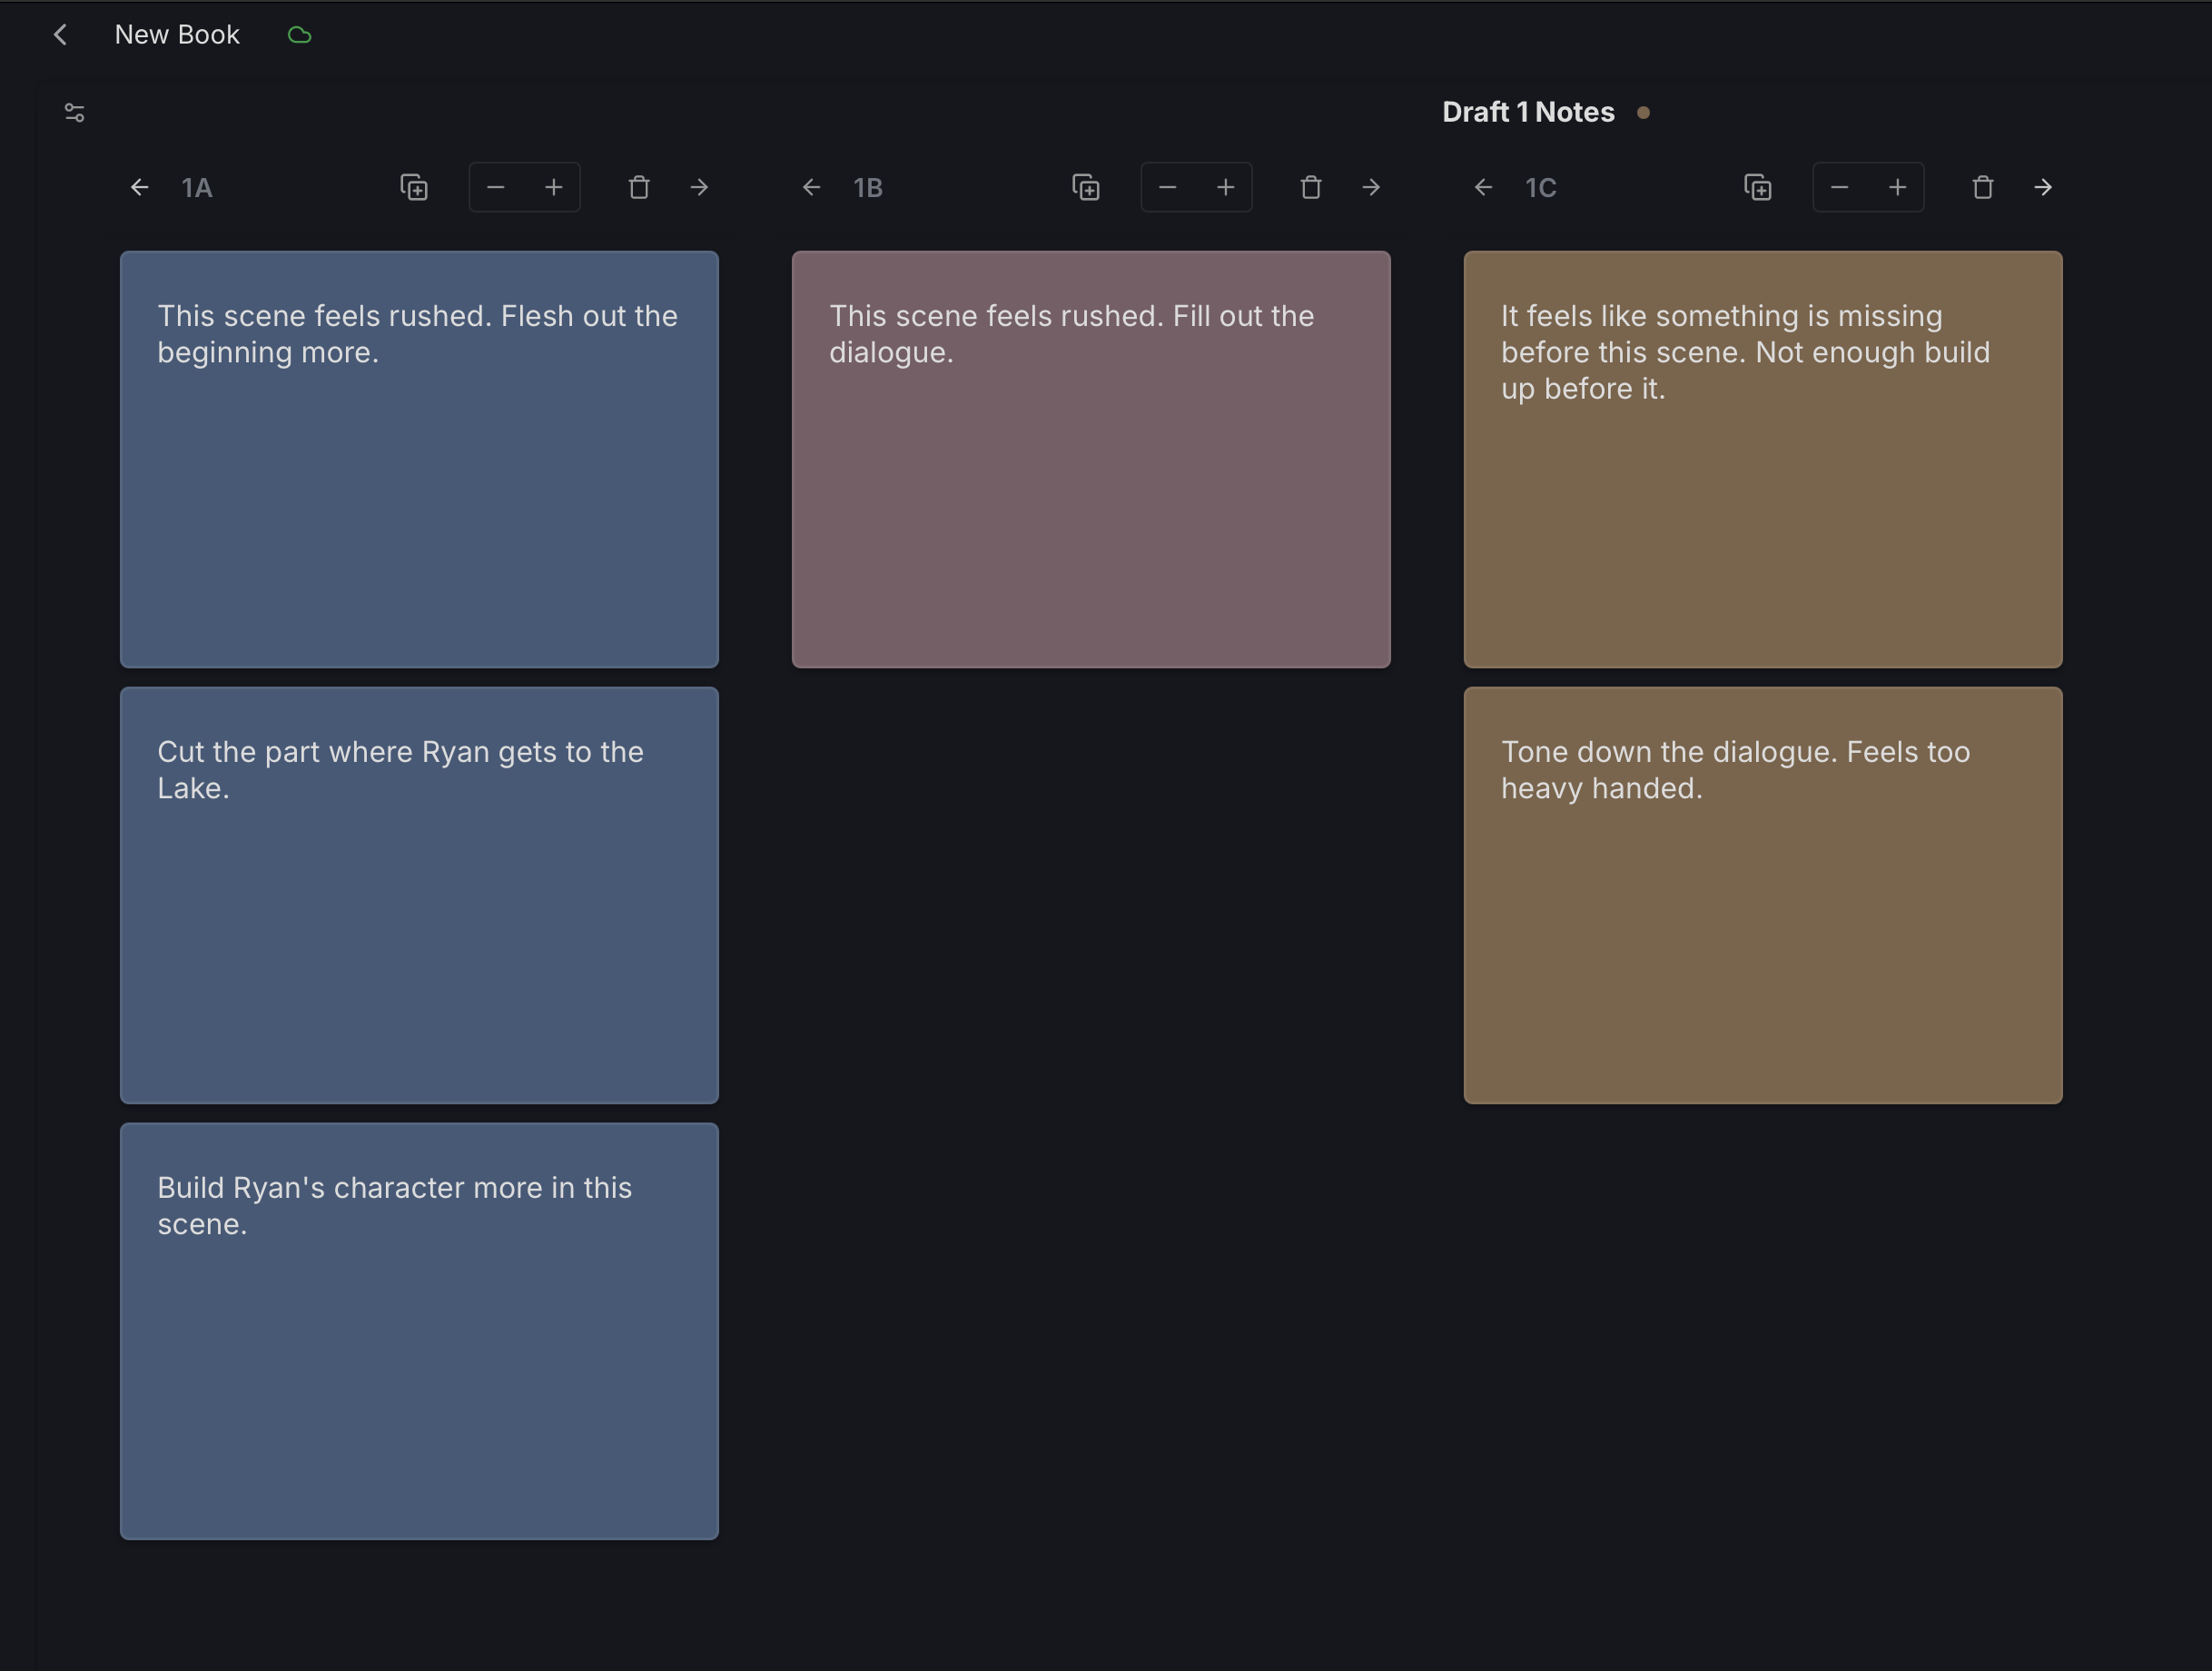
From here, I will create a cards file named something like “Draft 1 Notes” and open it up alongside the manuscript.
Now it's time to read the whole draft and take notes.
Scene-level notes only
Not line-level notes. Not even paragraph-level notes. Just scene-level observations.
Things like, “This scene feels rushed. Fill out.” Or, “This scene feels unnecessary. Give it purpose or remove.”
Each note gets its own card. And each scene gets its own section inside the cards file.
This is where the earlier decision of splitting the draft into scenes starts to pay off. Instead of dealing with one giant text file, I can see the manuscript as a collection of scenes, which makes notes and everything else much easier to organize.
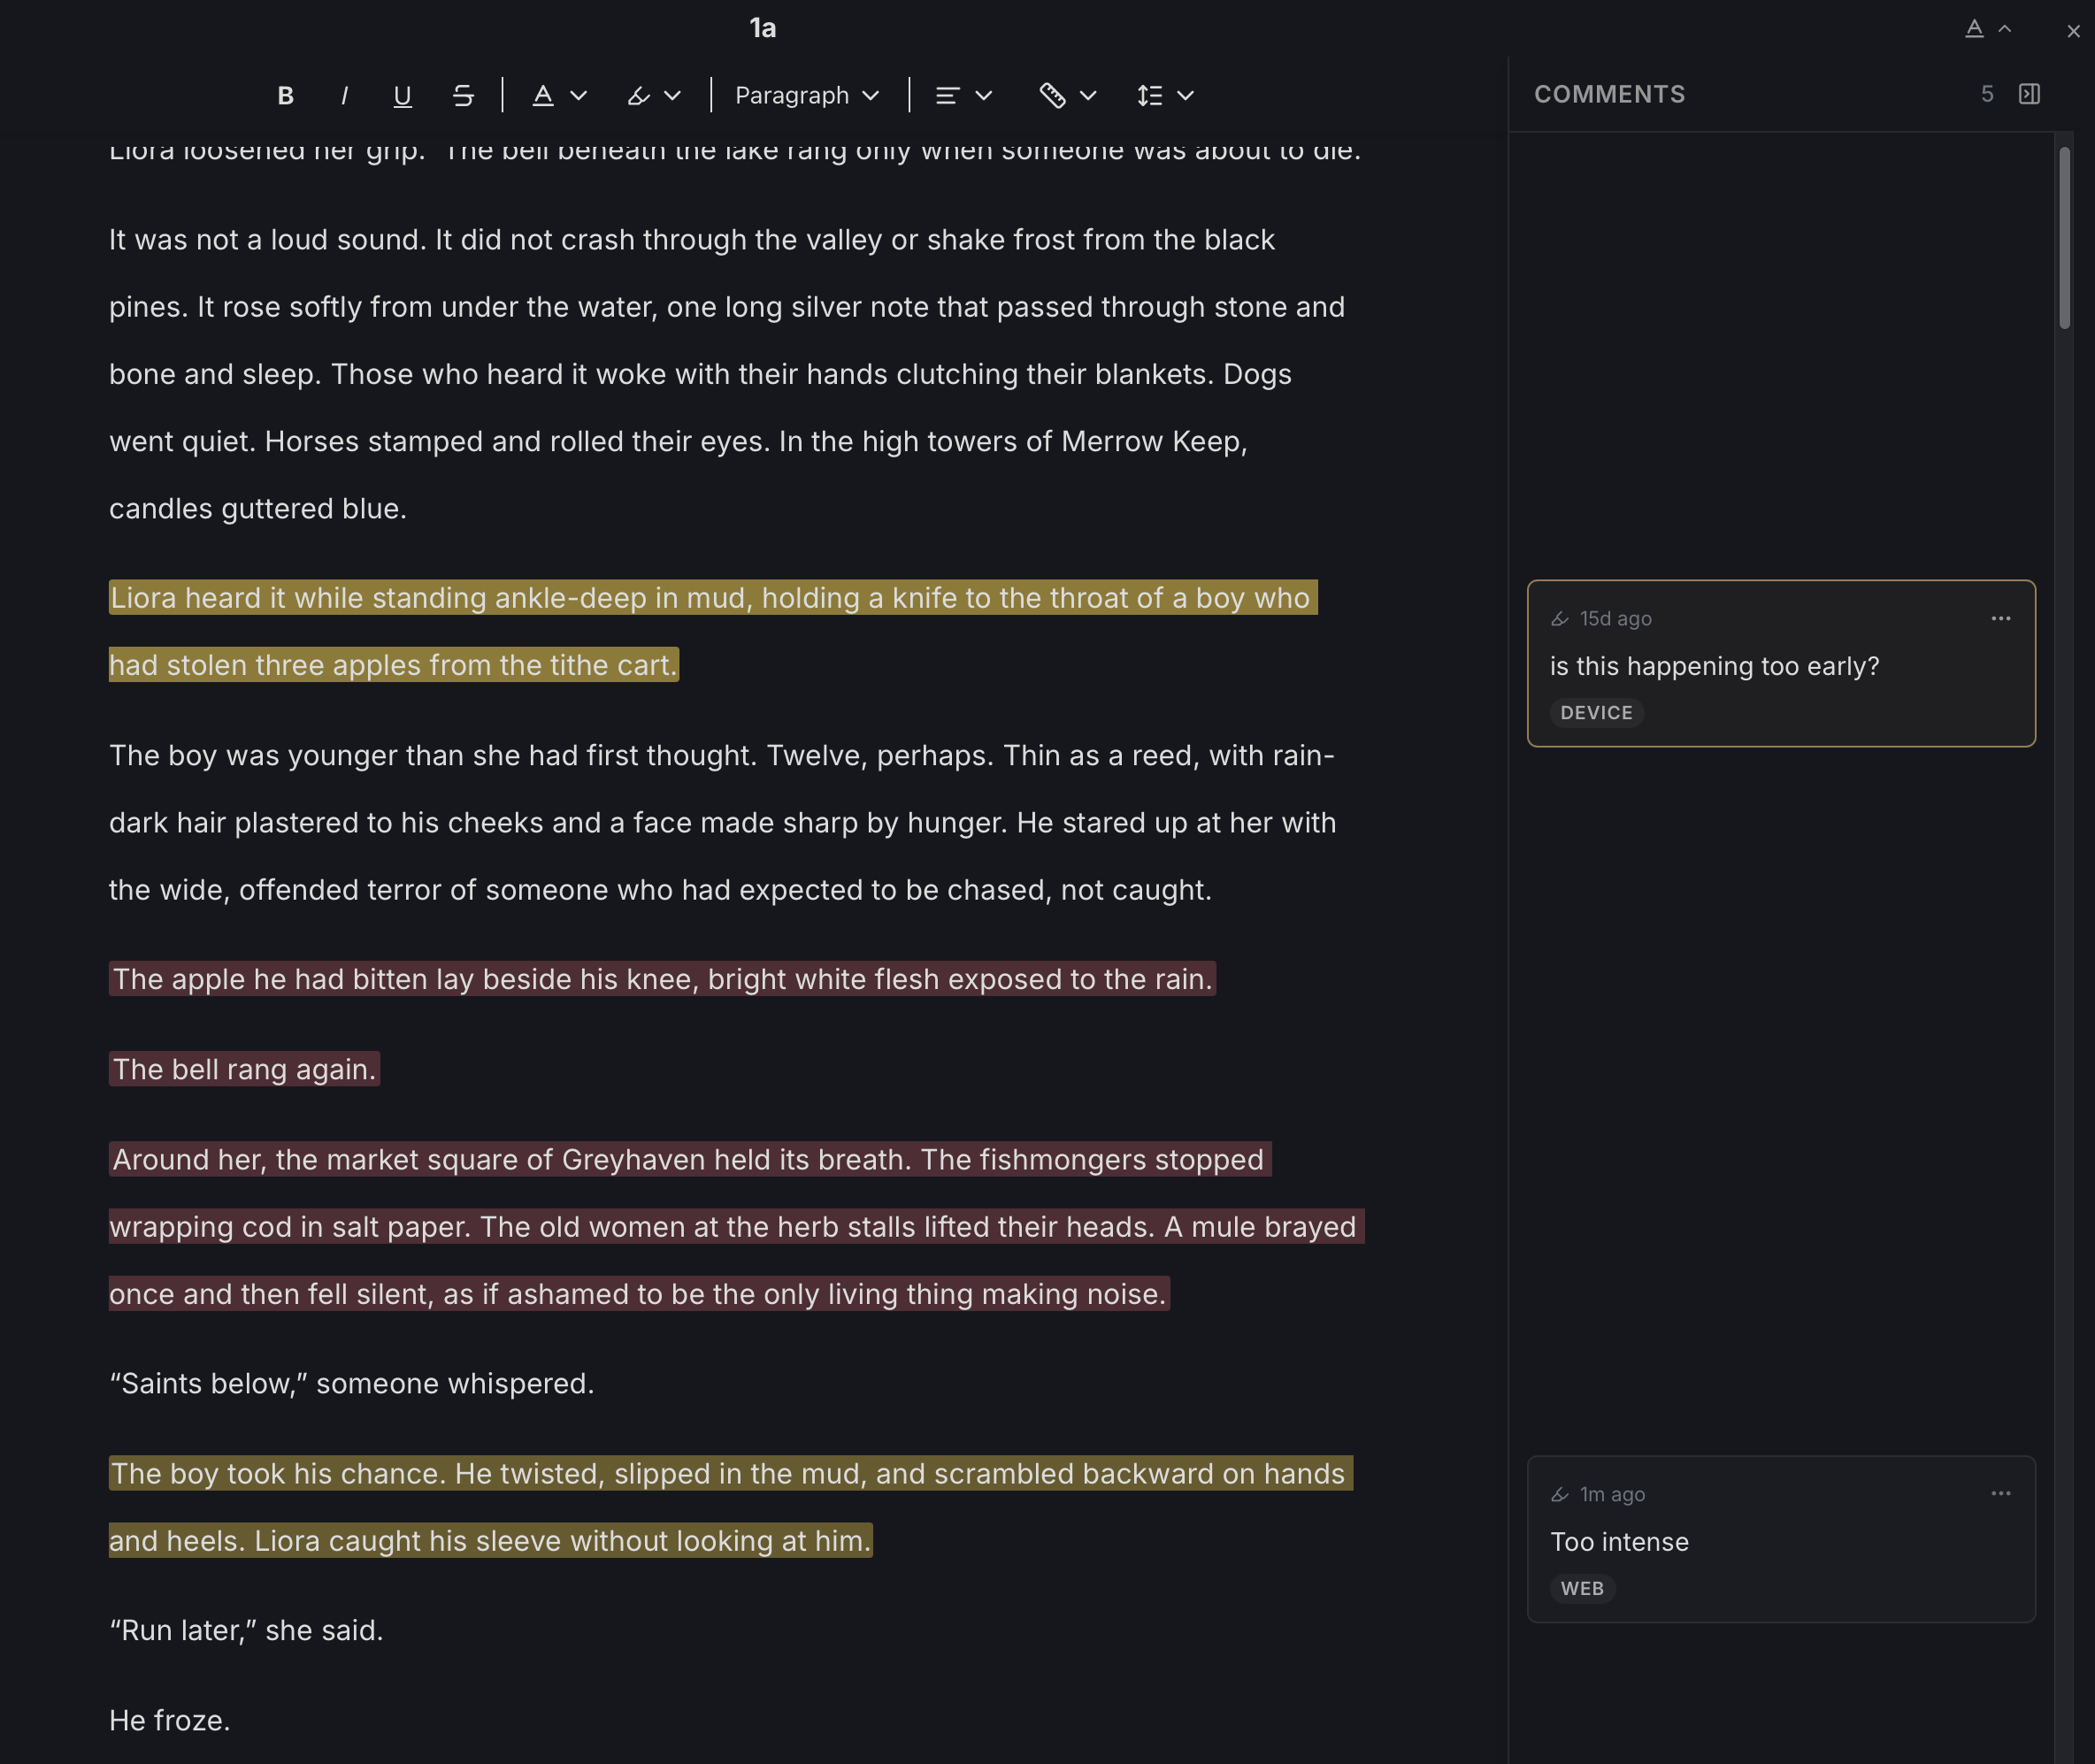
If you do need to make occasional line or paragraph level notes, you can do that by creating comments in the manuscript. These will stay attached to that location in that scene, just like the comments you create on the BYOK. At this stage though, I try not to use comments too much.
Building the Second Draft
Once I've read through the first draft and taken notes, it's time to build the second draft. For me, this usually involves four steps:
1. Remove scenes that don't belong
Just remove them from the manuscript. I usually keep a backup just in case, but I get them out of my workspace, and I already know which these are based on the notes I took during the read-through.
2. Reorder scenes if needed
Sometimes a scene is good, but it's in the wrong place. Sometimes a subplot needs to be moved around. Other times the pacing just feels off. I make these changes directly in the manuscript by dragging and dropping the sections based upon what my notes tell me. Then I rename the scenes based on their new order.
If I'm still unsure about how the scenes fit into the overall plot, I will map them out in the grid tool. This allows for a more visual sense of what's going on. Once I figure it out, I make the final changes in the manuscript.
3. Fill out and create scenes
The most time consuming part of the second draft. This is where I go back to the BYOK and enter a mini drafting stage.
If a new scene needs to be created or a scene needs to be filled out, I will do this on the BYOK. A nice part of this step is that any changes made to existing scenes will appear directly in the manuscript once synced. And since these changes are based on the notes I took during the read-through, I'll likely refer to the cards file on my mobile app.
4. Trim scenes
If a scene just needs to be trimmed, I will sometimes do this on the BYOK but usually stay inside of Studio. The BYOK does have some editing controls that make this doable, but if I expect to be bouncing around in the scene or need more context, Studio makes it easier to navigate and see more of the writing at once.
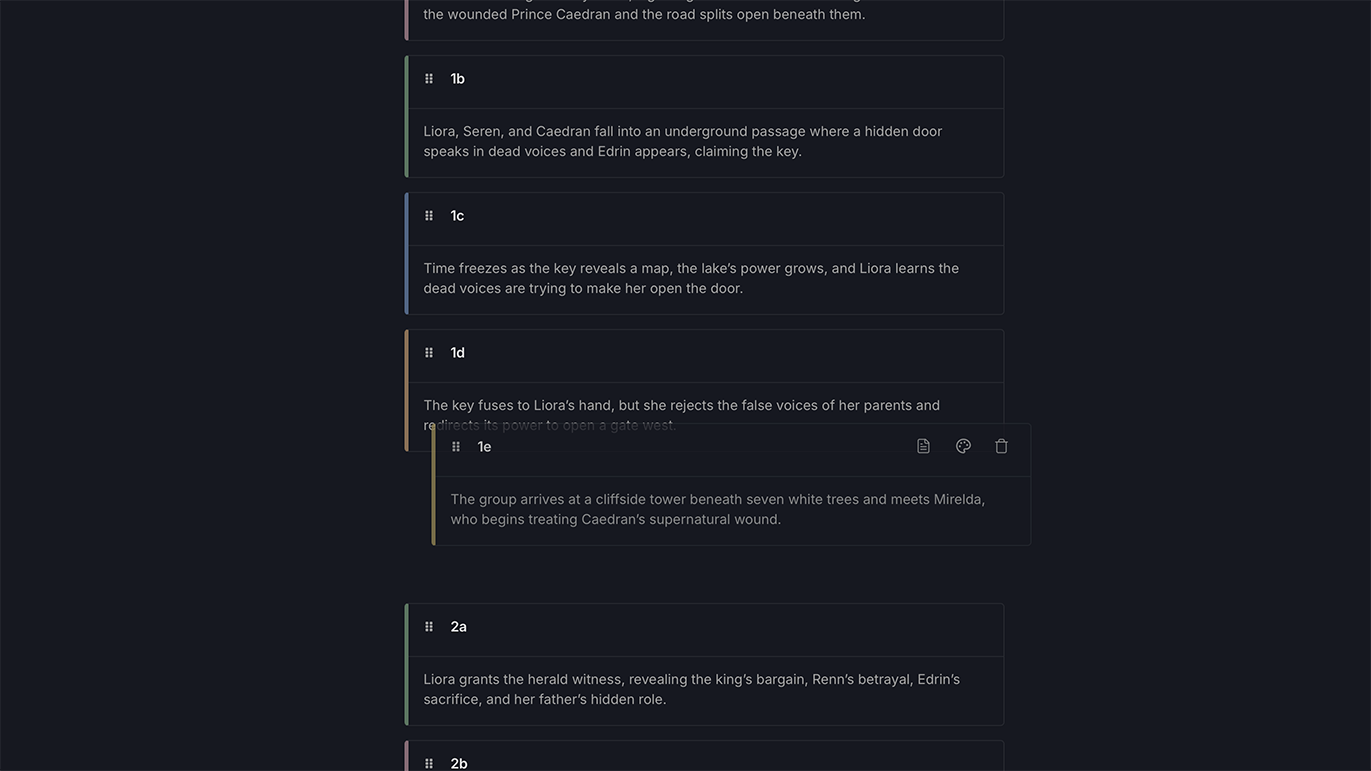
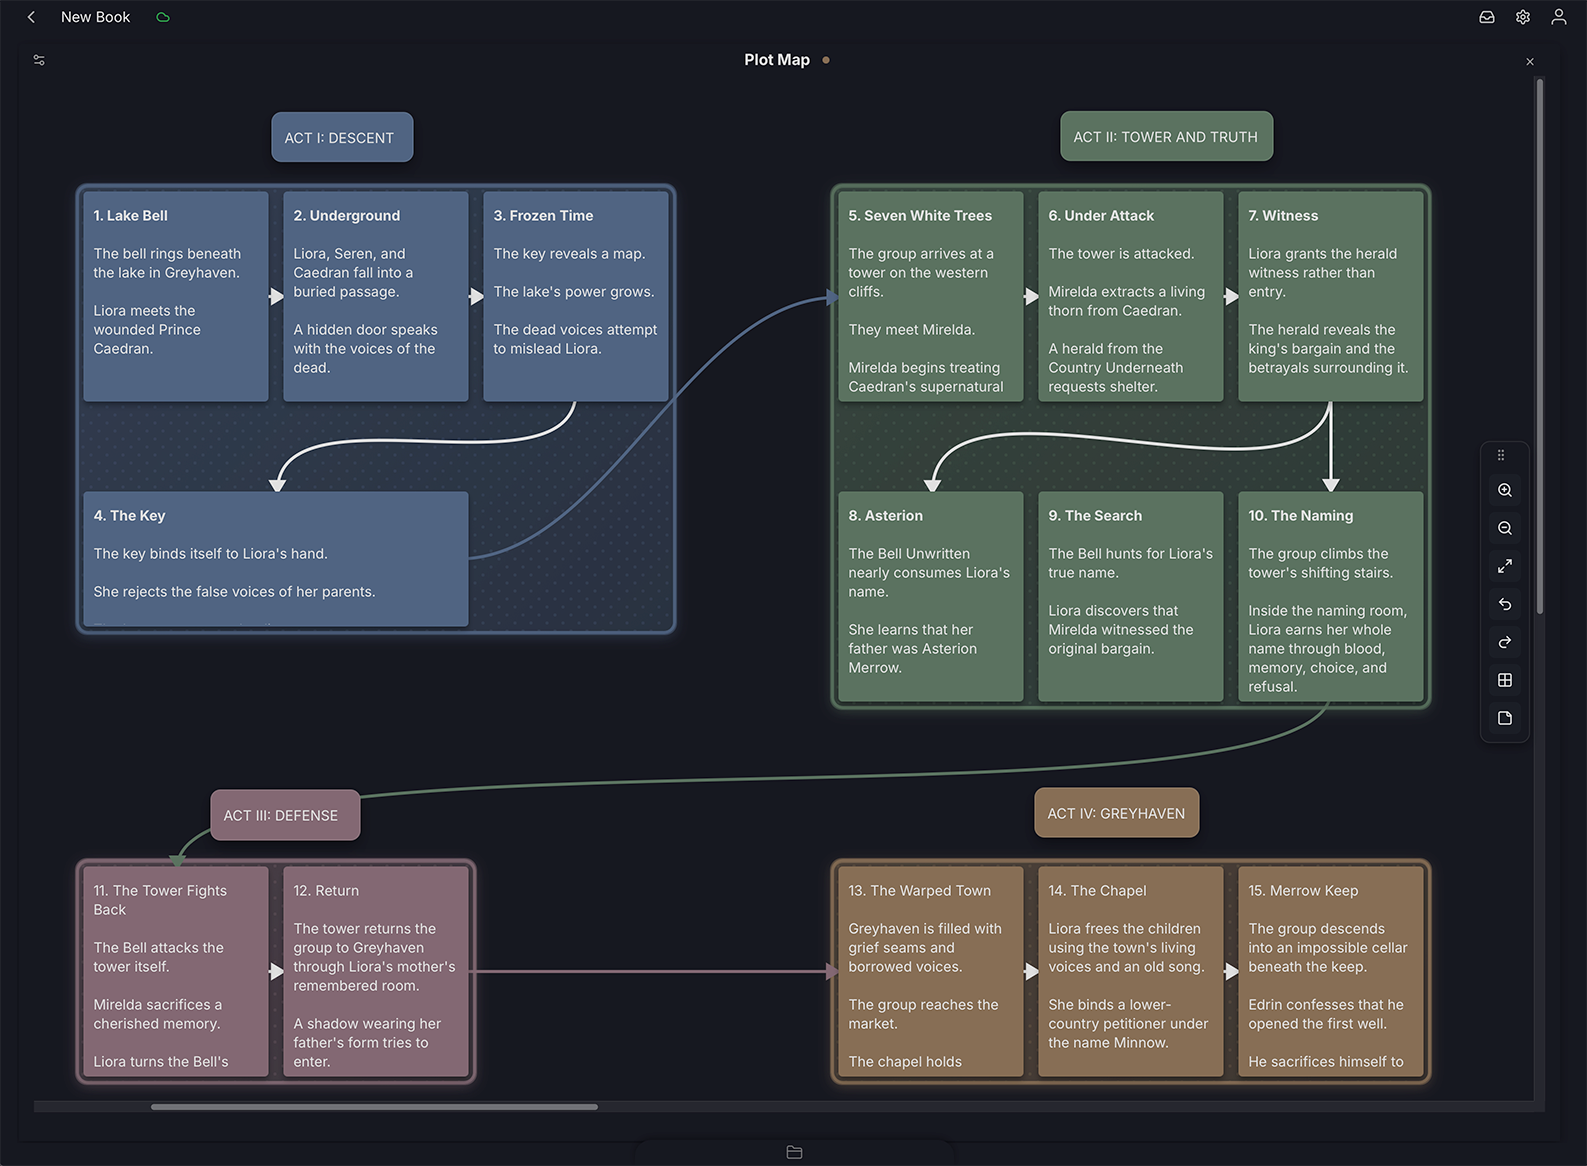
This is a great example of how the BYOK and Studio work well together. The BYOK gives me the quiet space to draft the scenes. Studio gives me the larger workspace to step back and start shaping it into a real manuscript.
The Third Draft
After going through those four steps on the second draft, I'll usually do another read-through to make sure it came together the way I had imagined.
Inevitably, some of the changes won't stick the landing and I end up doing another small round of notes. After this, I go through the same four steps again - albeit with much less to do this time around.
Once I feel the scenes are locked down, I move on to the third draft.
The approach is similar to the second draft in that it begins with a read-through. However, this time I will be looking more at the details such as paragraph structure, sentences, tightening the writing, finalizing character names, and so on.
Rather than taking notes this time around, I will make the edits as I go.
Inevitably, I will still end up writing down a small handful of notes using the comment system.
Once this pass is done, I will do yet another read-through to make sure the changes work in the larger context. Especially the paragraph level changes, which can sometimes have an effect on the pacing.
The Fourth Draft and Beyond
Up next is the fourth draft. This is where I get into the really fine details like grammar and other line-level edits.
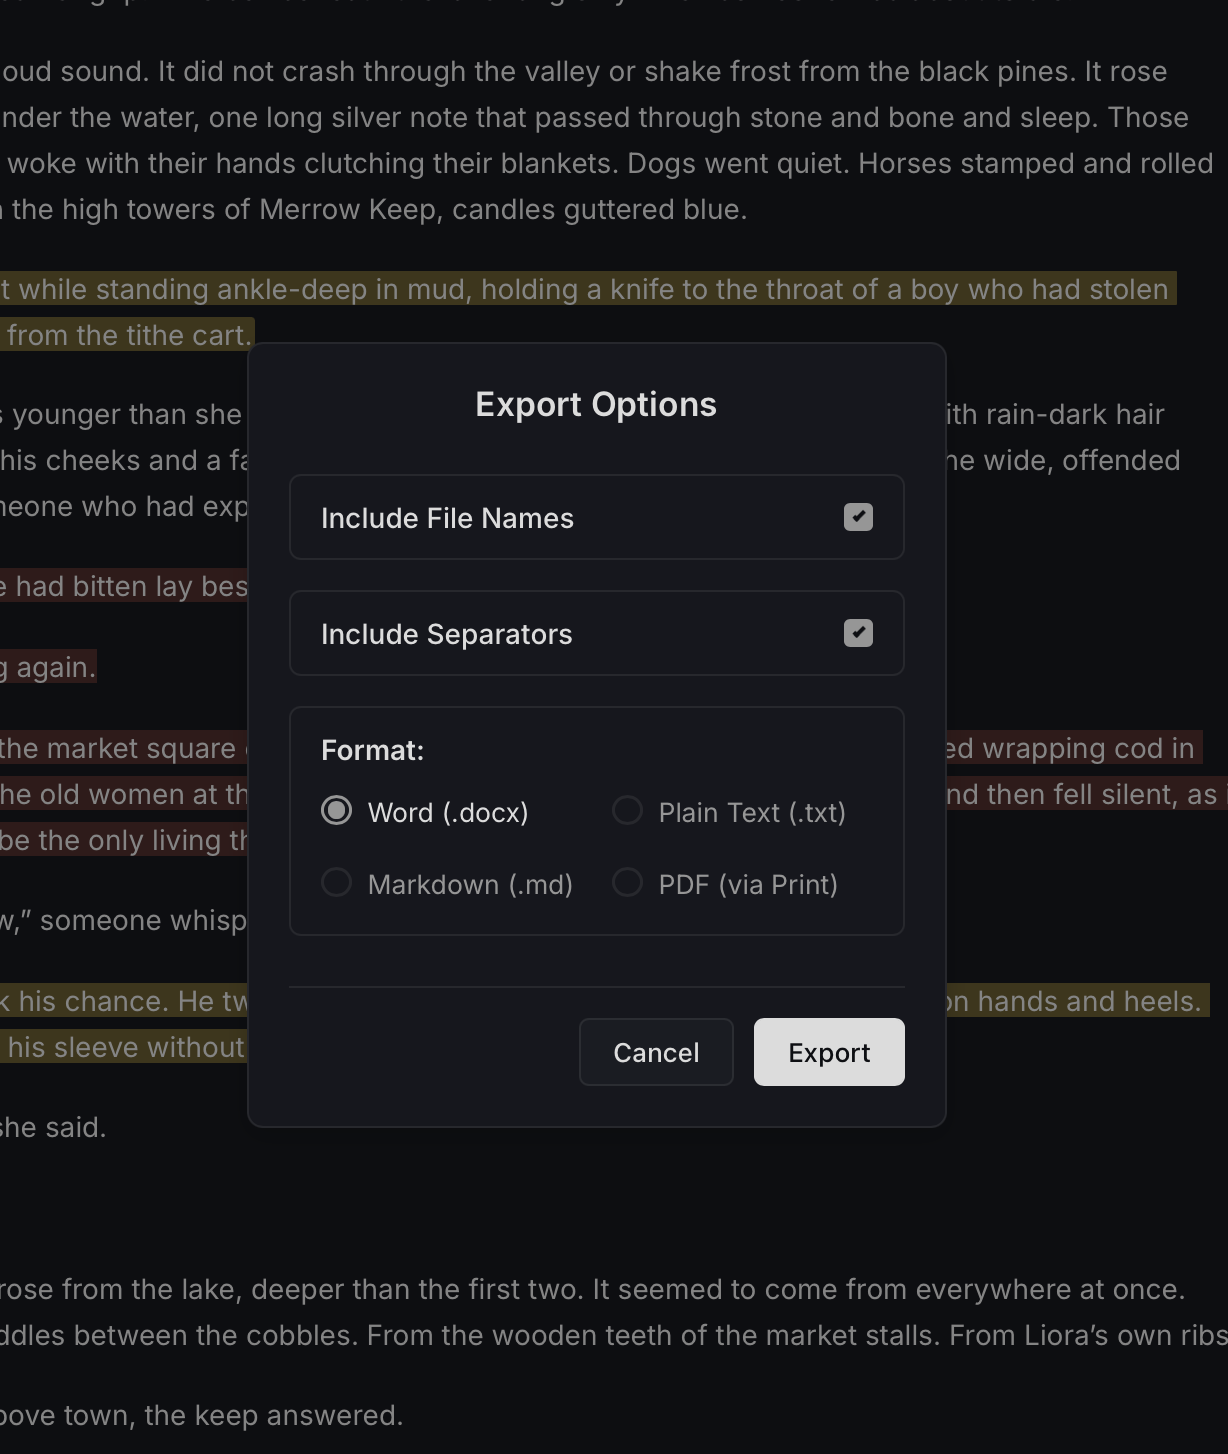
I'm not an expert in this area, and truthfully my go-to here is to export the manuscript and send it off to someone much smarter than me to handle the cleanup.
From there, you start to get into the publishing realm and other late stage steps such as beta reading, formatting for print, splitting into chapters, and so on. This is a process all its own and one that we won't be getting into here.
Make It Your Own
And there you have my general process of writing a book using the BYOK and Studio.
Again, this is just one workflow of thousands and only represents a small portion of what these tools can do.
Studio is an optional addition to your BYOK. If you'd rather just use the device with some other software, you can do that too.
If you found this helpful, let us know. We'd be happy to make more examples of writing workflows with the BYOK in the future.
Want to write with fewer distractions?
Get practical writing workflow ideas, focused setup inspiration, and occasional updates from BYOK and Studio.